| Jun 7, 2013 - Riveted
rear hoop gusset to top loneron. |
| Jun 7, 2013 - Doubler flush riveted
to top longeron. |
| Jun 7, 2013 - Using tape to mark
cut line fro trimming canopy sides to sides rails. |
| Jun 7, 2013 - Canopy trimmed and in place.
However, now the canopy profile no longer match hoop profile. Spent several hours over several
days bending and trying to reprofile the aluminum hoops to fit the canopy, but no success. Finally,
on Jul 1, I order a new set of hoops. |
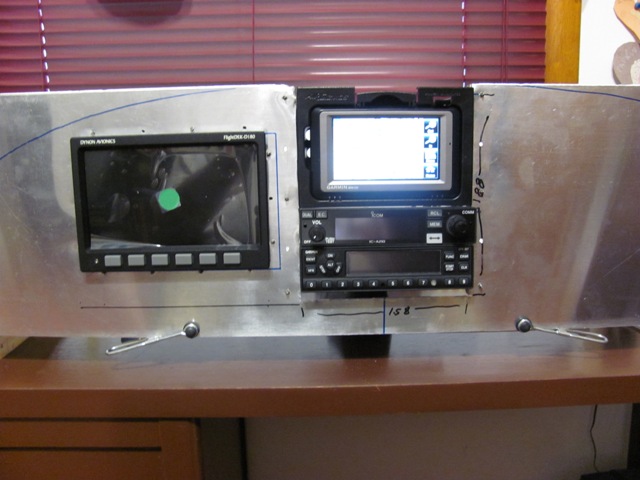
| Jul 5, 2013 - Started trial layout of panel
items, using cheap hardware store aluminum sheet for the panel. Installation very rough. |
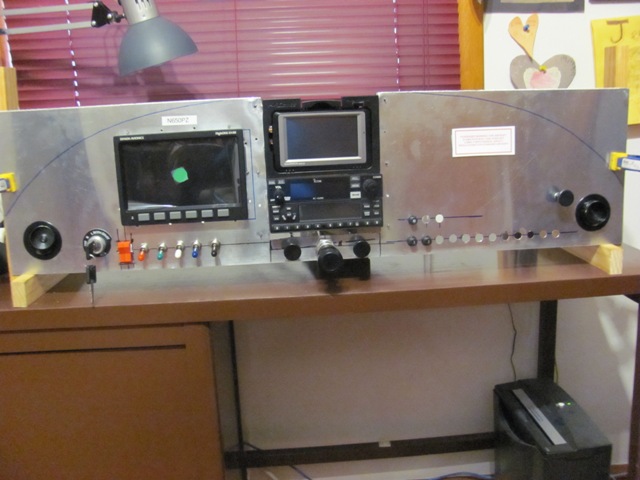
| Jul 16, 2013 - Panel mock up to date. |
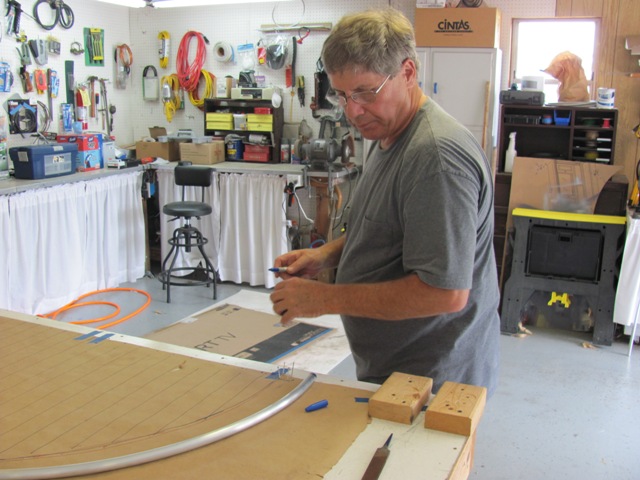
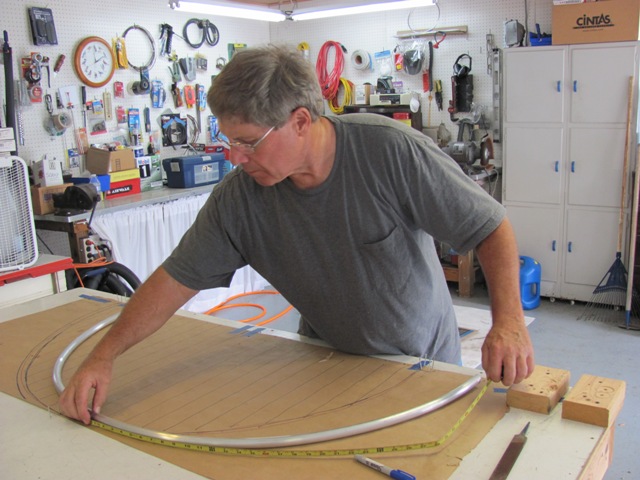
| Aug 8, 2013 - Gary Reynolds helping me with the
rear canopy hoops. This is third set of hoops. |
| Aug 8, 2013 - Gary measuring for one of the many
cuts/trims necessary to get the canopy and rear hoops to fit together. |
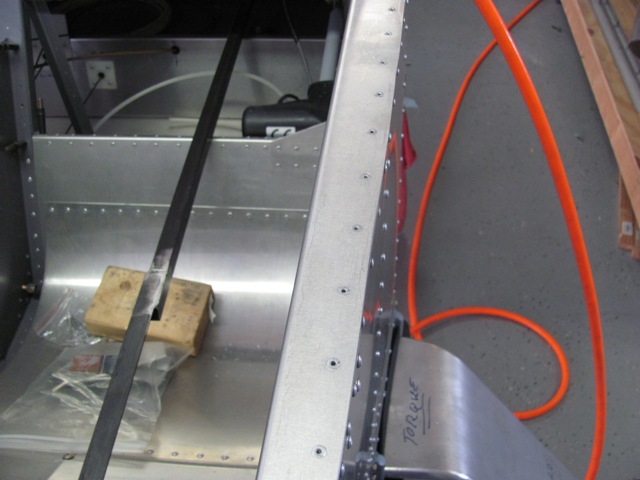
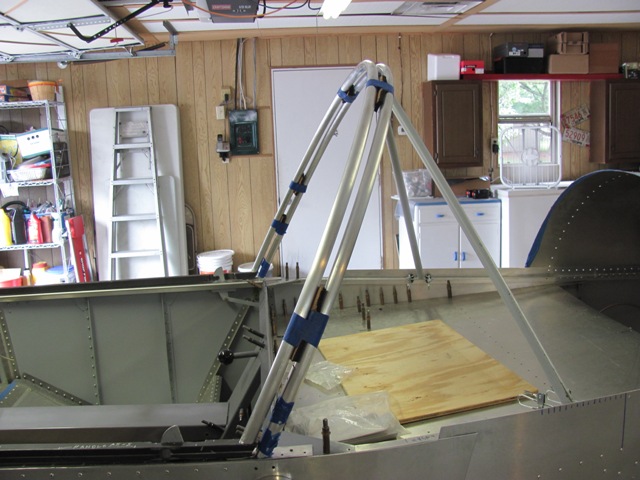
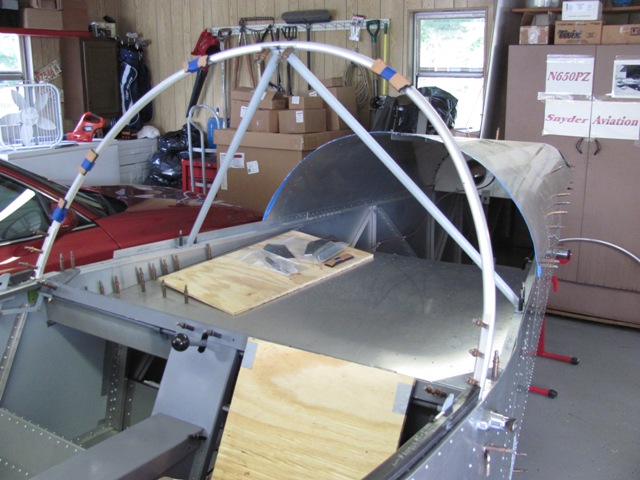
| Aug 8, 2013 - Back rear hoop finally trimmed
and set in place. Needed to move steel support 1"-2" forward of plan specified location. |
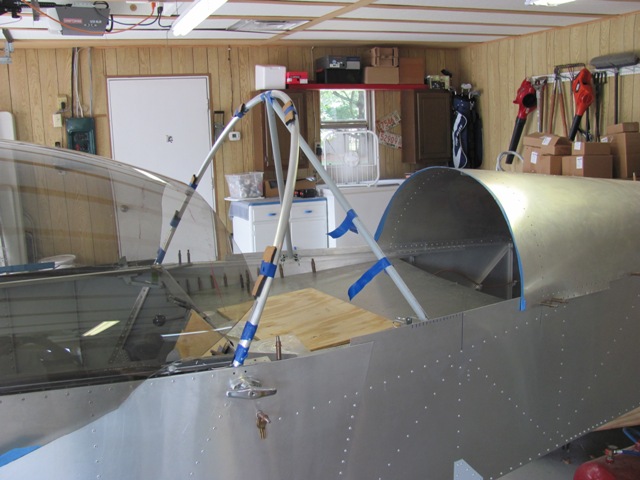
| Aug 8, 2013 - Front rear hoop trimmed and in
place. Spacers to keep hoops separated by 5 mm. |
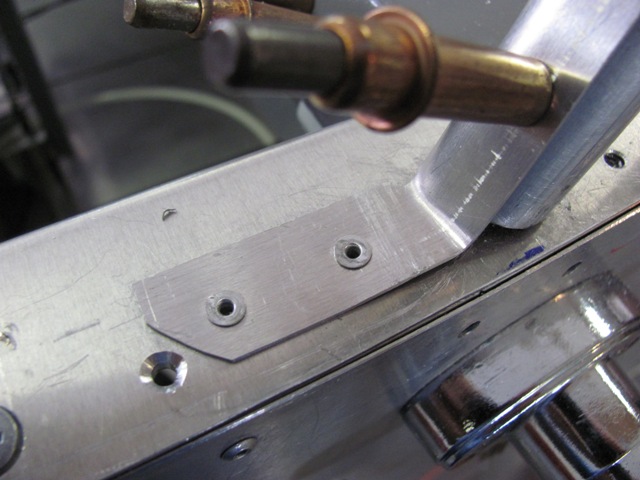
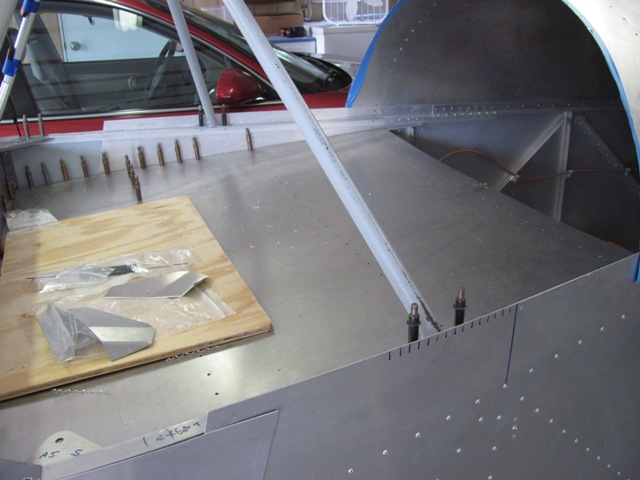
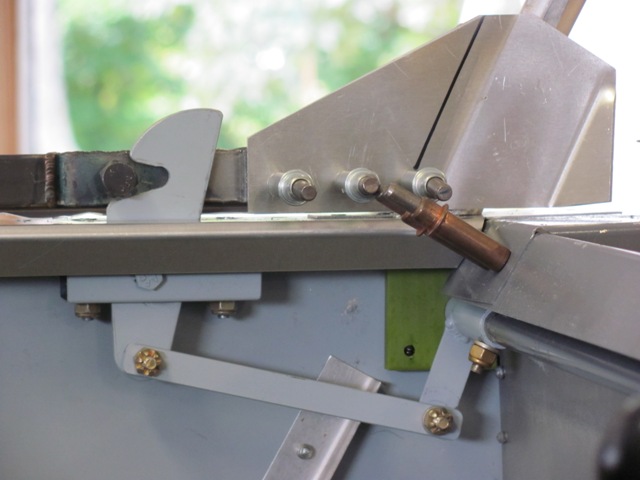
| Aug 15, 203 - Drilled and clecoed steel support
bar to the longerons. When ready for permanent attachment, it will be drilled to accept AN3 bolts. |
| Aug 15, 2013 - Clecoed canopy hoop to the steel
support. Clecoed canopy hoop to longeron gussets. |
| Aug 18, 2013 - Made trim pieces
for the canopy arms from L-angles. |
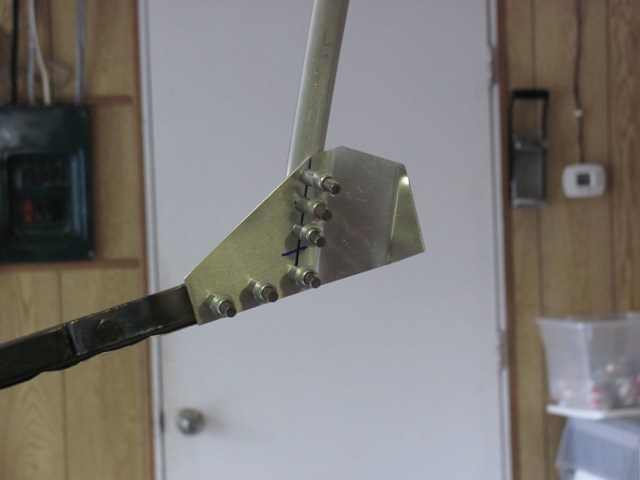
| Aug 19, 2013 - Attached Front Canopy Bracket to the canopy lift arms. |
|
| Aug 18, 2013 - Made trim pieces for the canopy
arms from L-angles. |
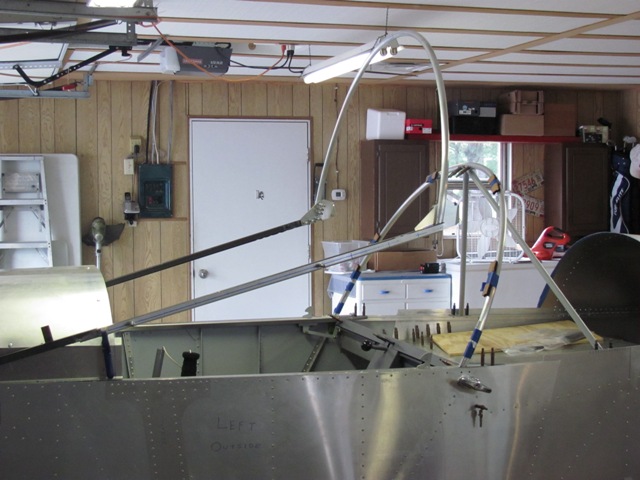
| Aug 19, 2013 - Canopy frame partially raised. |
|
| Aug 22, 2013 - Finished drilling L-angle trim
to the canopy arms. |
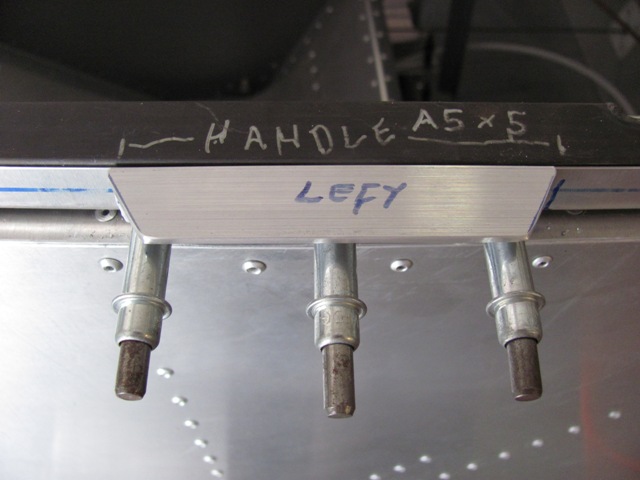
| Aug 22, 2013 - Made canopy handles from .062
in. extrusion. |
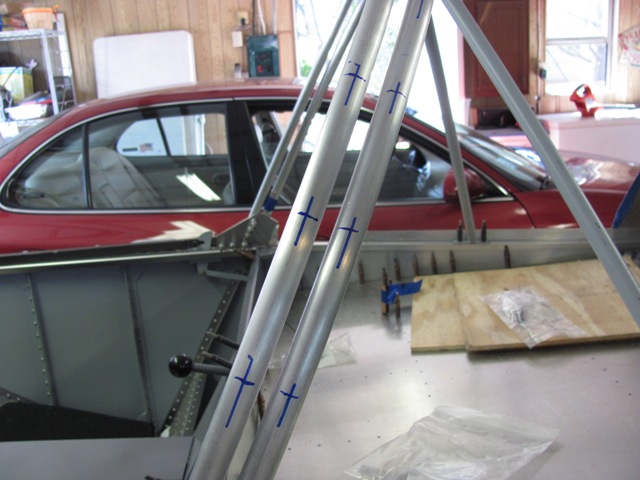
| Sep 2, 1013 - Removed hoops and marked for rivet/screw
locations. Both hoops measured a little over 900 mm from top center. Measuring 100
mm from top center, resulted in 19 holes per hoop. |
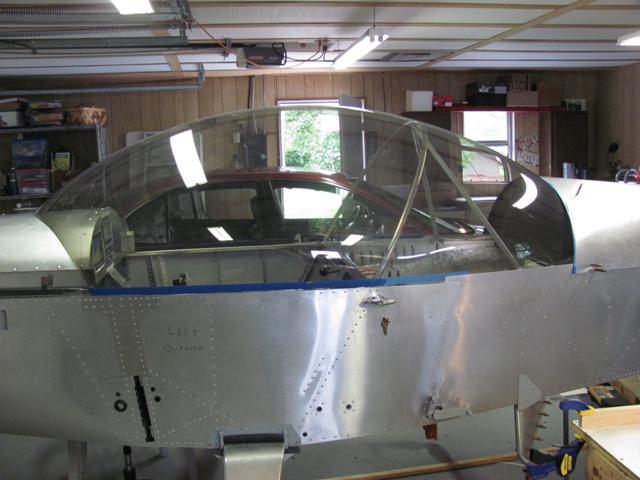
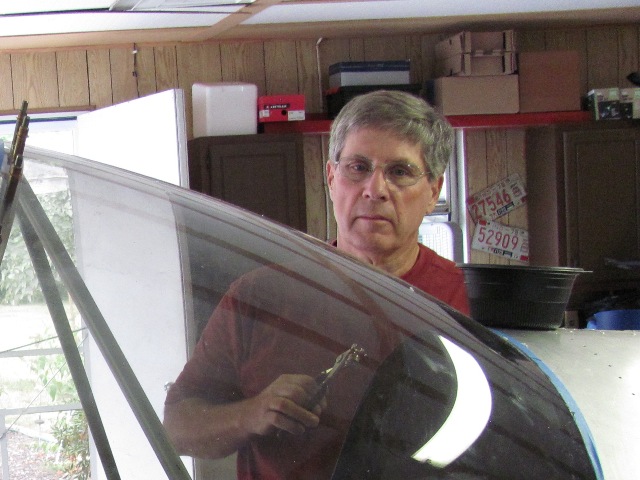
Sep
5, 2013 - Gary Reynolds came over to help me finished the canopy. Here we have done a final fitting. |
| Sep 5, 2013 - Starting to drill through the plastic
canopy into the aluminum tubing hoops. |
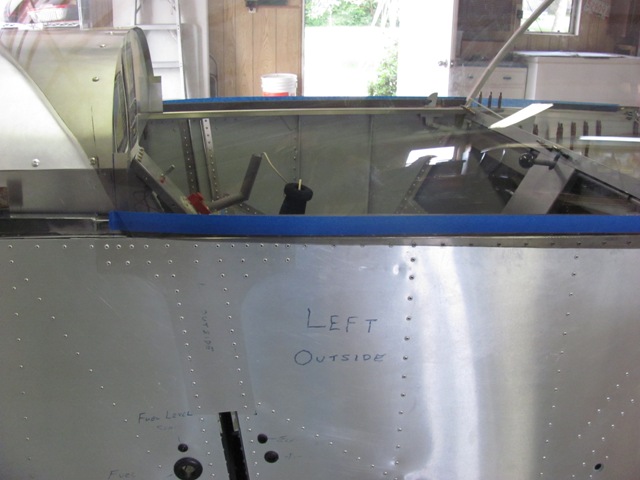
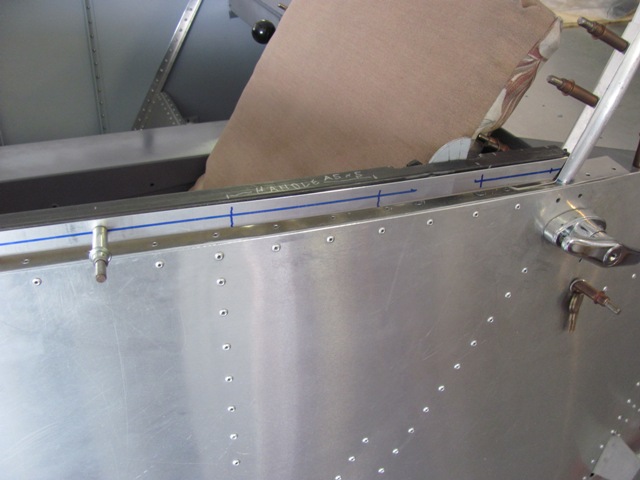
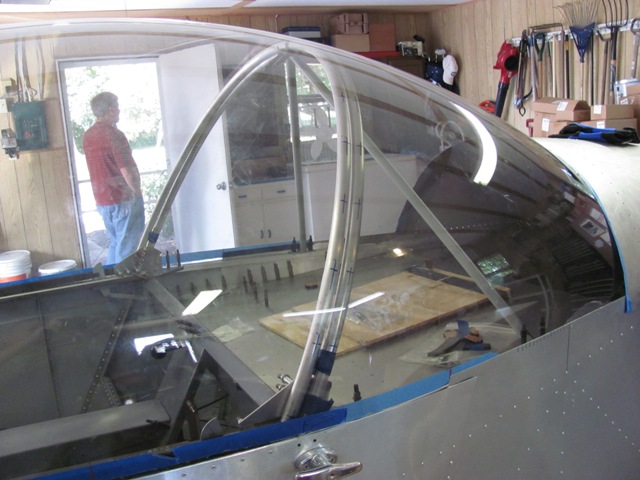
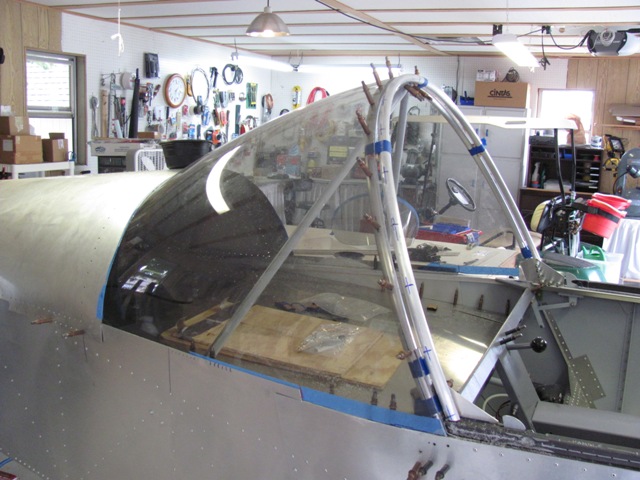
| Sep 5, 2013 - Canopy drilled. Used
blue tape to create a line between to two hoops where the canopy needs to be cut in two. |
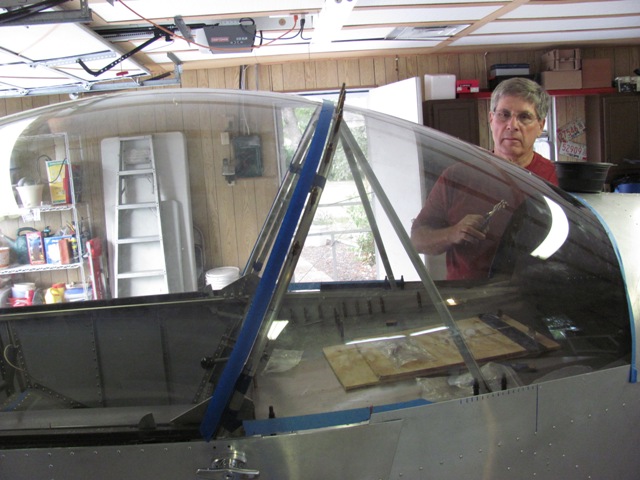
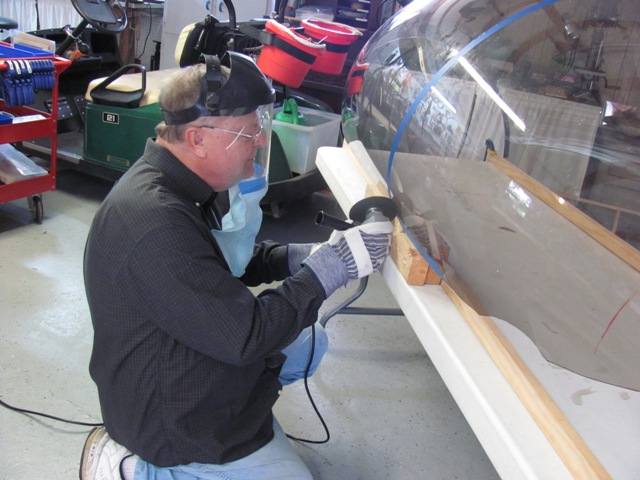
| Sep 5, 2013 - Starting first cuts into the canopy.
Long sleeve shirt, face mask, and heavy gloves are a must. |
| Sep 5, 2013 - Rear section clecoed back in place. |
| Forward section of canopy clecoed to hoop and
lift arms. Major work completed. Additional trimming will be required. |
| Sep 5, 2013 - A special thanks to Gary Reynolds
for all his support, guidance, and help. Without him, this canopy may have never been completed. |
Back to Top>>
Back to Home>>
|