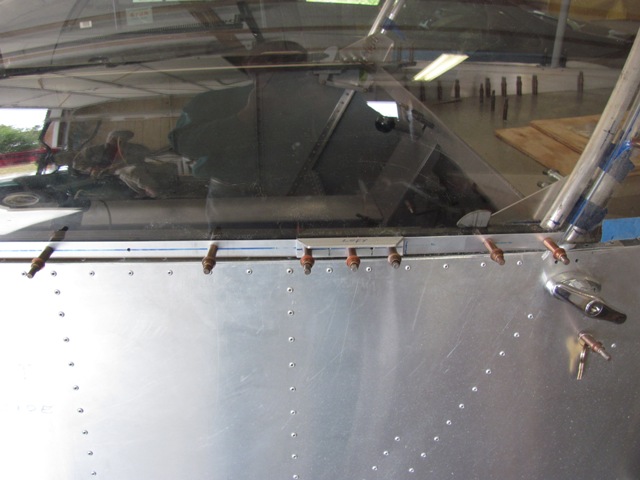
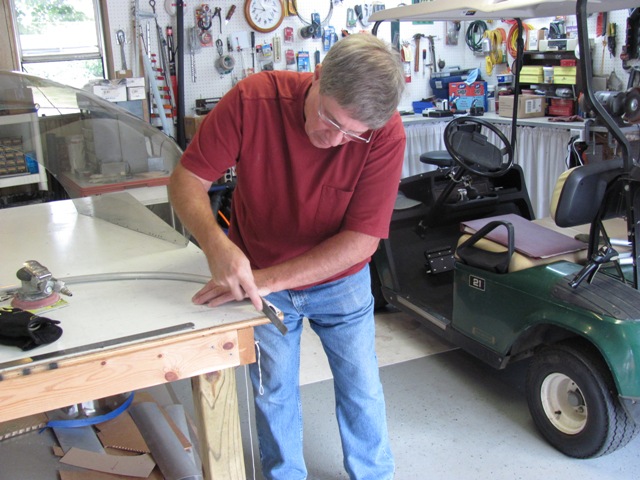
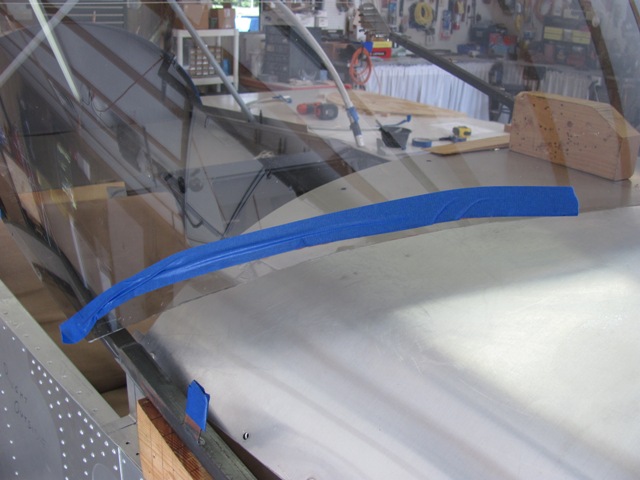
| Sep 15, 2013 - Trimmed bottom edge of canopy and fitted L-angle trim
piece. |
| Sep 15, 2013 - Marking areas that need additional trimming. |
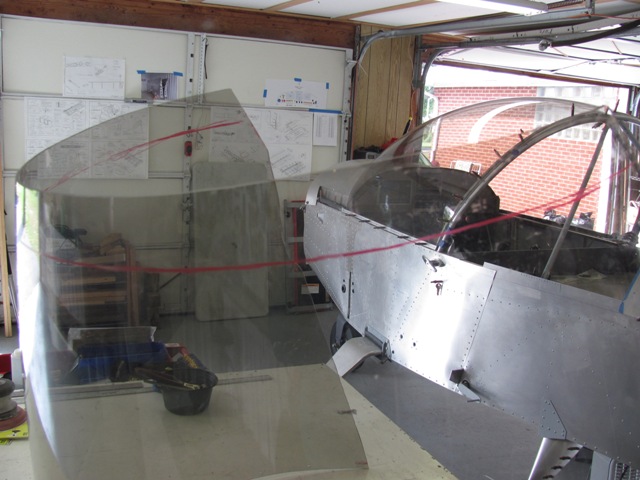
| Sep 15, 2013 - Trial fitting canopy rear fairing. |
| Sep 17, 2013 - Removed rear canopy section. Trimmed
back portion to provide clearance for the baggage bulkhead. |
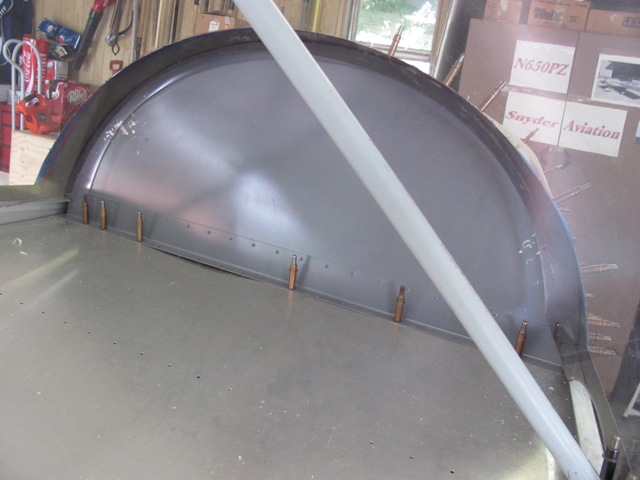
| Sep 17, 2013 - Rear canopy section re-installed, with bulkhead in place. |
| Sep 18, 2013 - Gary Reynolds helping work on the canopy front hoop. |
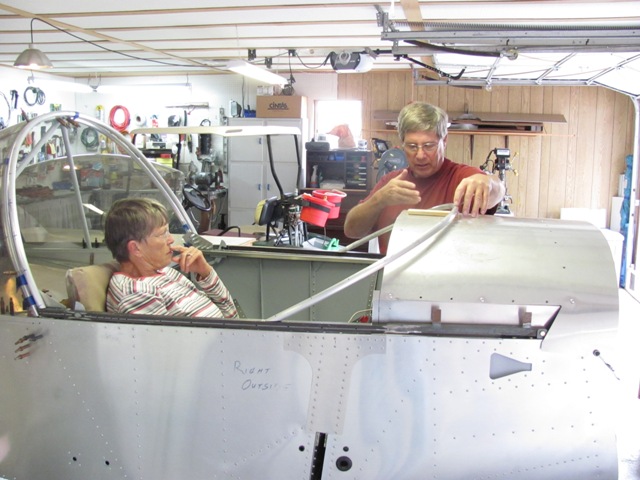
| Sep 18, 2013 - Gary telling Suzanne what we are trying to accomplish. |
| Oct 12, 2013 - Top skin re-installed to check for clearance of trim piece.
Obviously, template needs some work. |
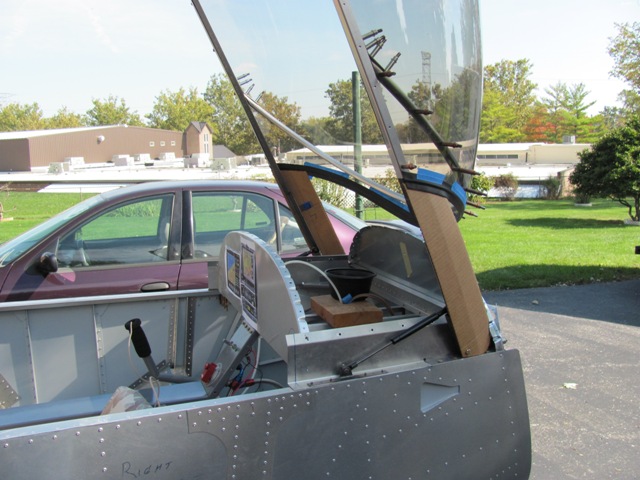
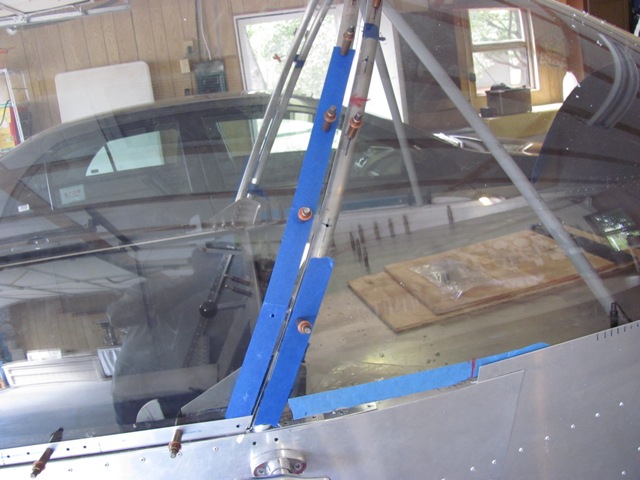
| Oct 12, 2013 - Moved outside for first time, in order to open the canopy
fully. Temp installation of struts to hold canopy up. |
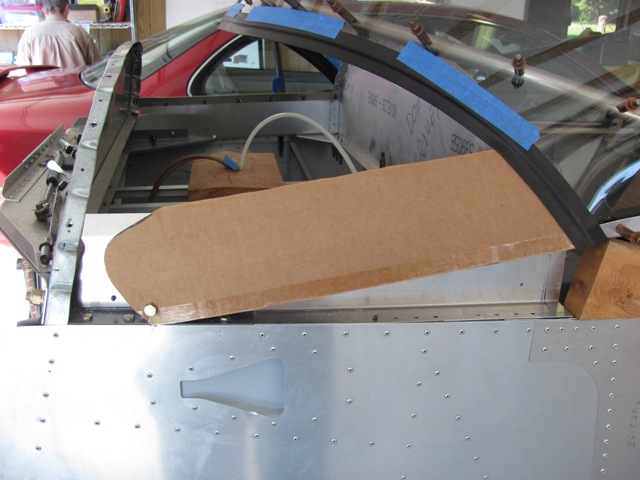
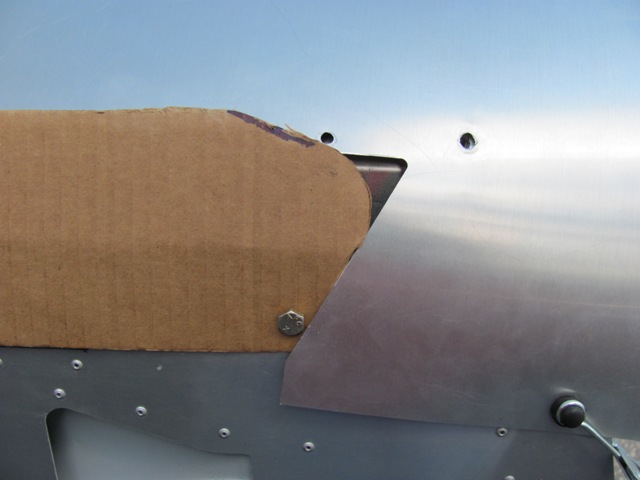
| Oct 12, 2013 - Using cardboard to make template for the front trim pieces. |
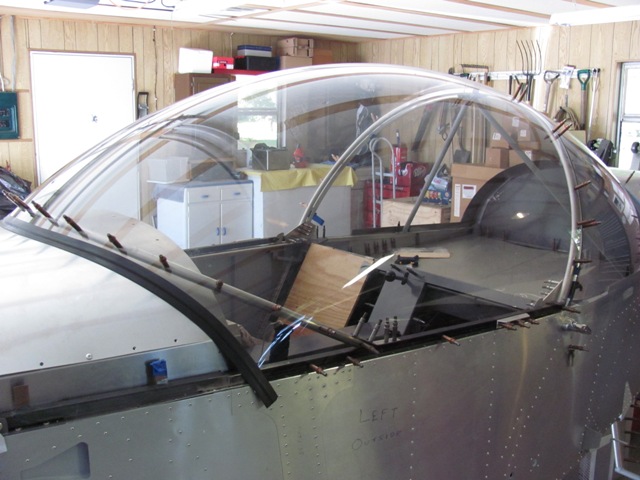
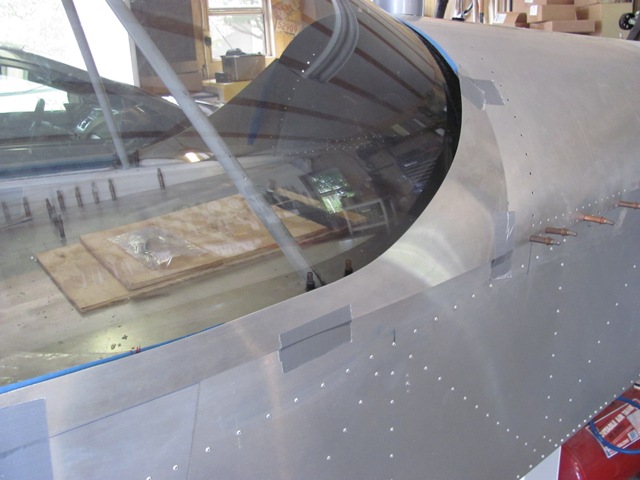
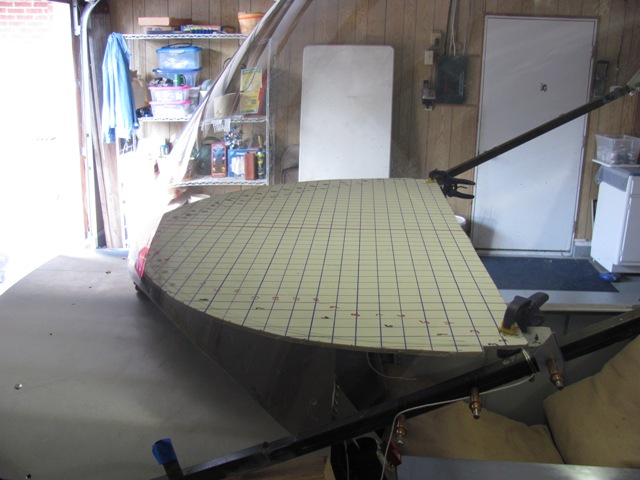
| Oct 8, 2013 - Side view of canopy. Still needs front
and rear trim pieces. |
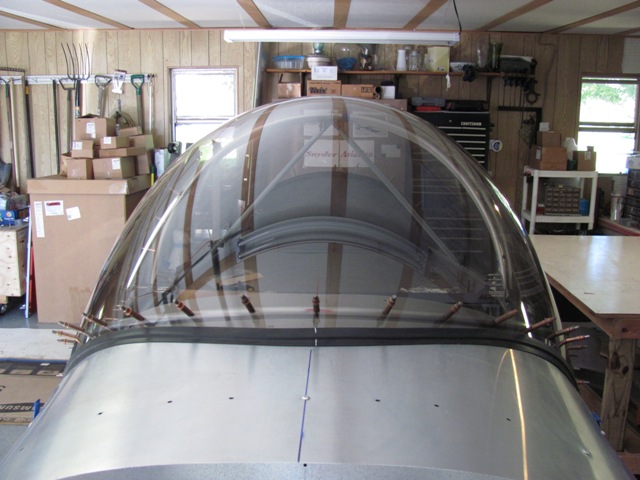
| Oct 8, 2013 - Canopy closed. Front seal fitting nicely. |
| Oct 8, 2013 - Drilled gussets connecting front hoop to lifting arms. |
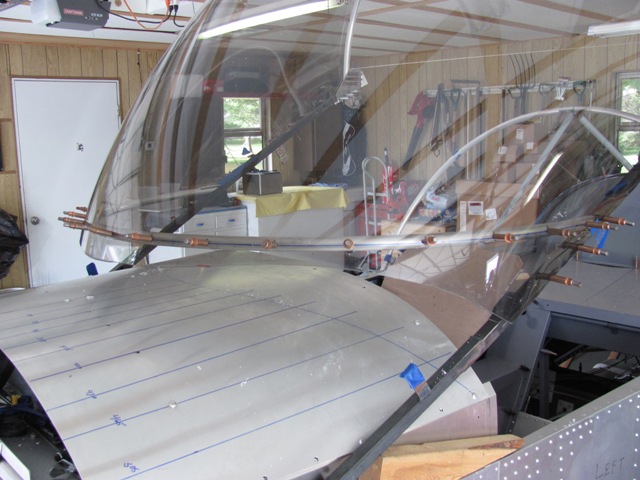
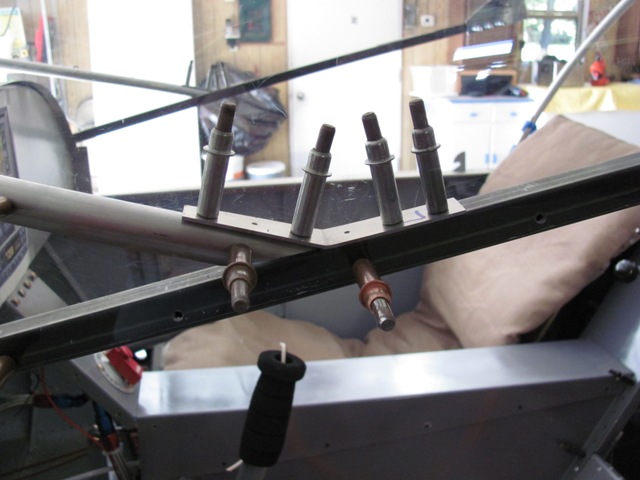
| Oct 7, 2013 - Front hoop drilled and cleco-ed in place. |
| Oct 7, 2013 - Suzanne inside holding front hoop in place as I drill and
cleco. |
| Oct 7, 2013 - Marking right side of canopy for trimming to match left
side. |
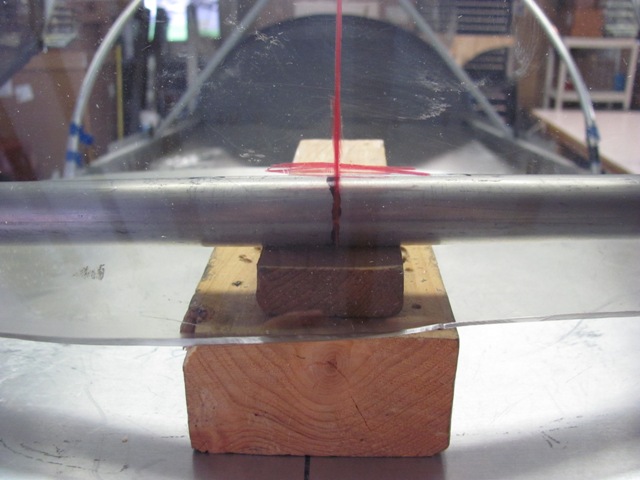
| Oct 1, 2013 - Using wood blocks to maintain elevation during fitting. |
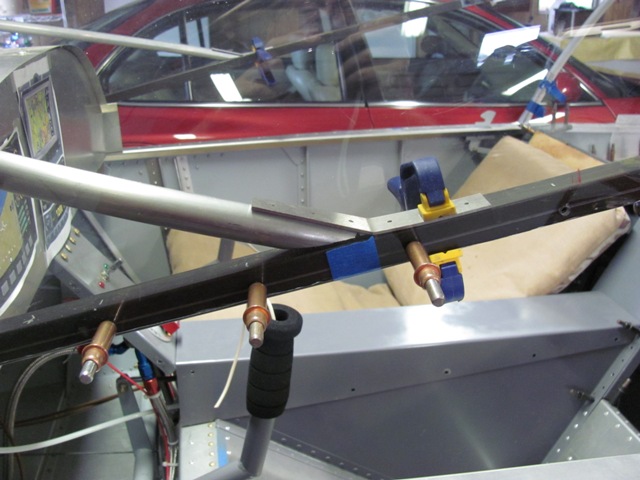
| Oct 1, 2013 - Trimmed ends of canopy front hoop, and fitting Front Canopy
Frame Gussets. |
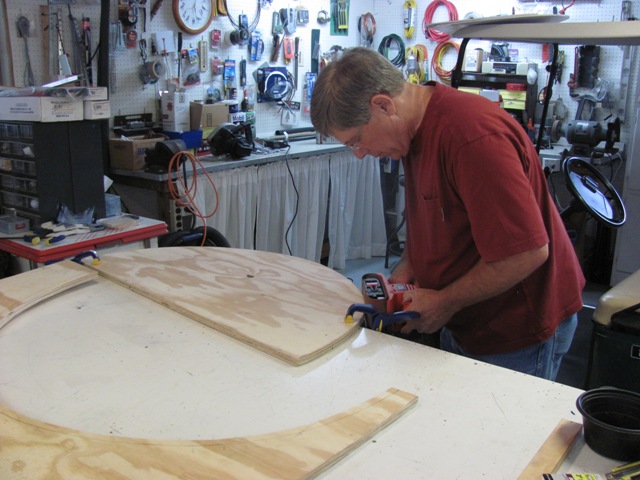
| Sep 25, 2013 - Gary Reynolds helping with the final fitting.
We transferred the foam template to 3/4 in. plywood. |
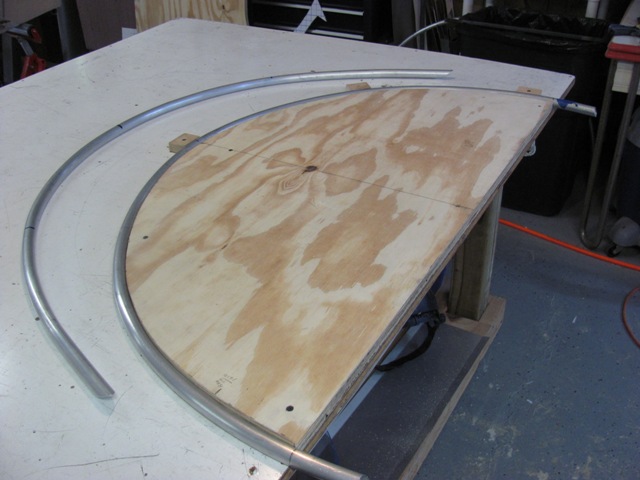
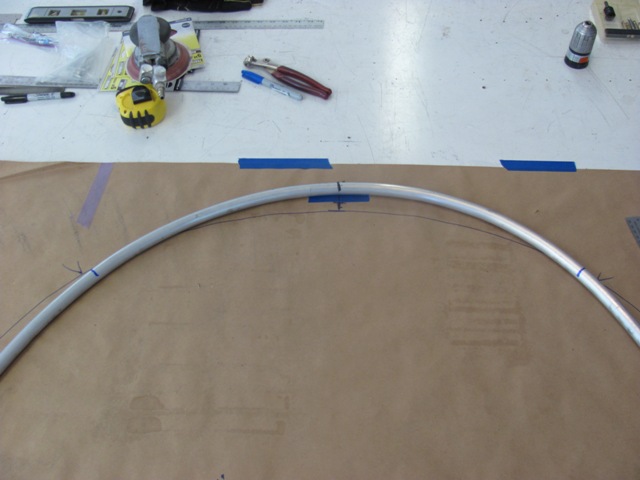
| Sep 25, 2013 - Using one of the old rear hoops, Gary was able to re-profile
it to the wood template. |
| Sep 25, 2013 - Hoop template is very close to fitting. |
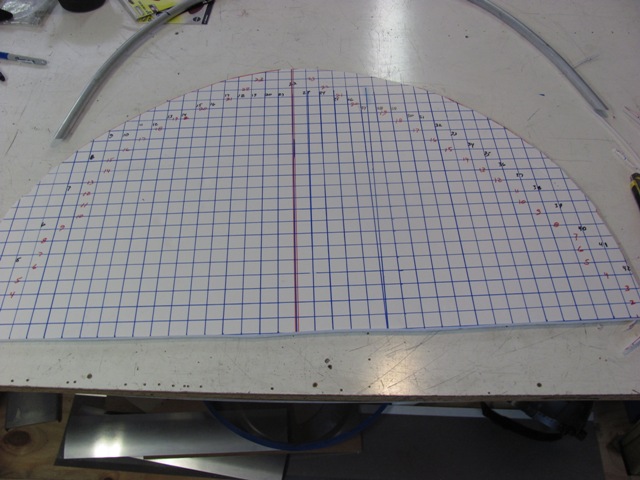
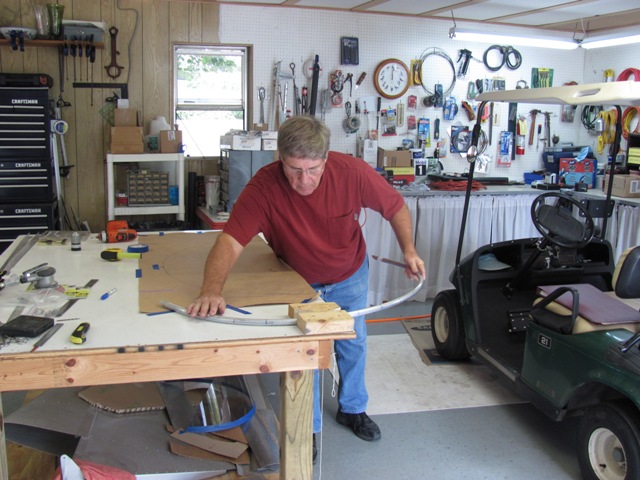
| Sep 22, 2013 - Using foam poster board to make template for front canopy
hoop. After progressive cuts, the template is close. Waiting for Gary Reynolds to help
finish it. |
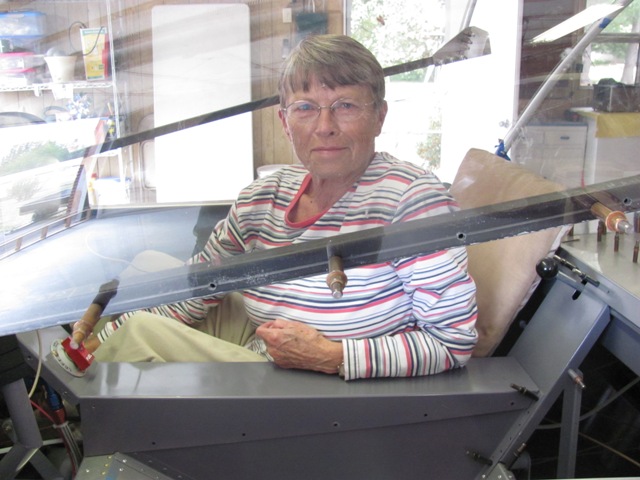
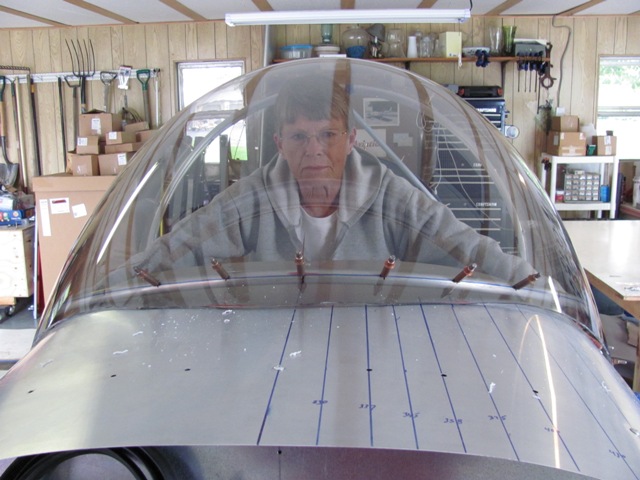
| Sep 18, 2013 - Suzanne "volunteered" to sit inside and hold
the front hoop as we tried to fit it to the canopy. |
| Sep 18, 2013 - After six hours of work, the front hoop still does not
fit. We called it a day, and will re-evaluate our approach. |
| Sep 18, 2013 - As with the rear hoops, the front hoop needs re-profiling
to fit the canopy. |
|