|
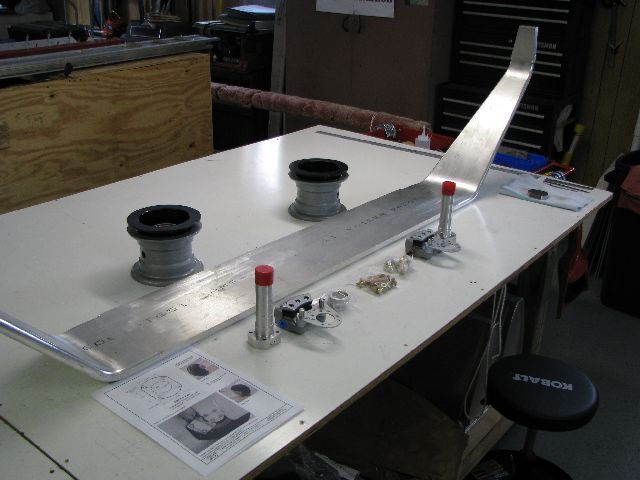 Jan 12, 2010 - No work on project since October 24, 2009. Still waiting on wing mod package, so decided to work on installing
hubs and wheels on main landing gear. Main landing gear (upside down), wheels (in back), hub spindles, brake calipers,
and hardware.
|
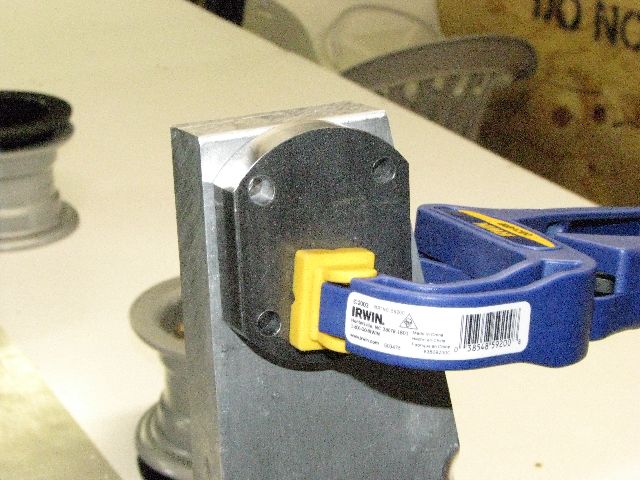 Jan 12, 2010 - This is a steel drill guide I borrowed from a local guy who is also building a Zodiac (he is installing his engine). |
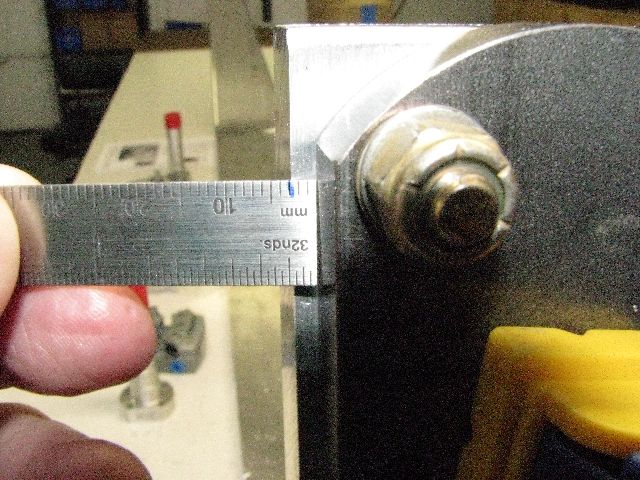 Jan 12, 2010 - This side is vertical and will be facing forward on the right side of the plane. I inset the template
3 mm from the front edge.
|
 Jan 12, 2010 - Two holes drilled and temporarily bolted until other holes drilled. Template is not crooked. Back
side of leg slopes.
|
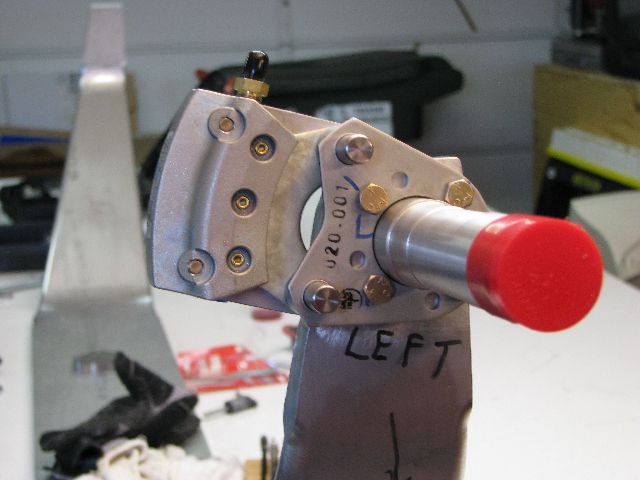
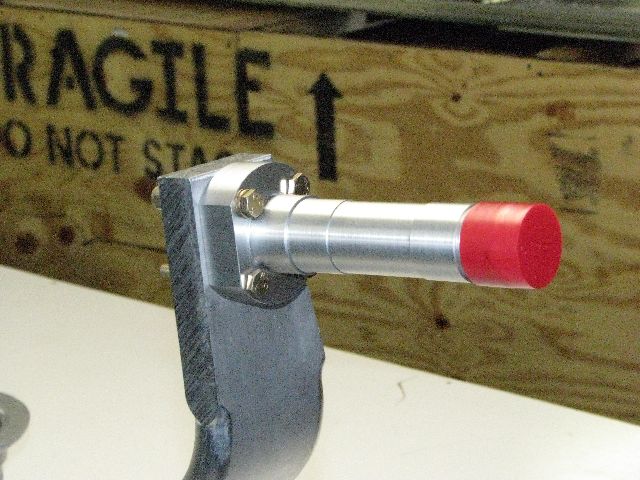 Jan 12, 2010 - The hub spindle "dry fit". Completed assembly will be attached with 1/4" bolts.
|
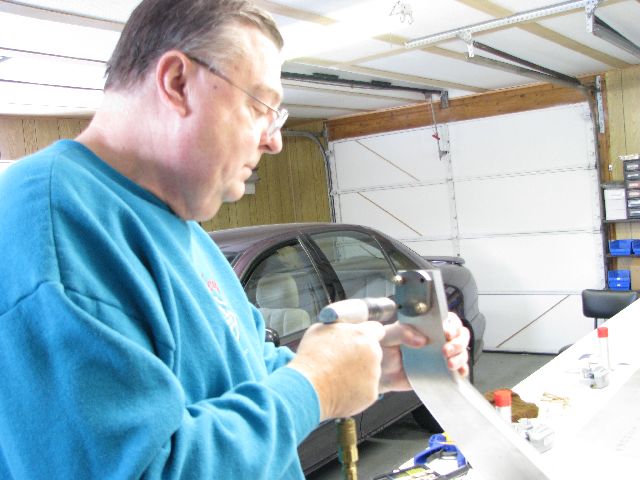
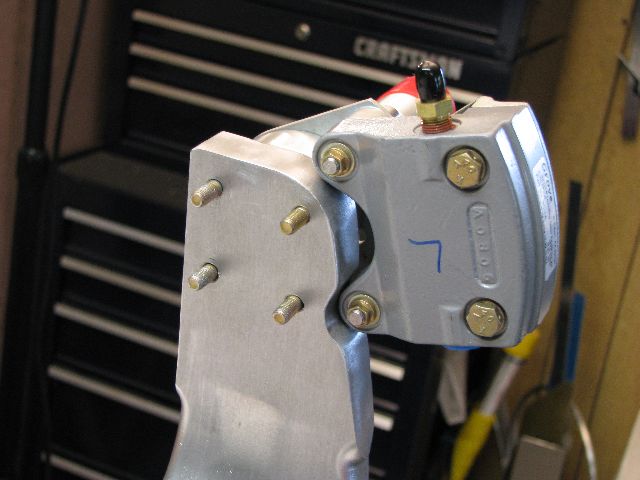
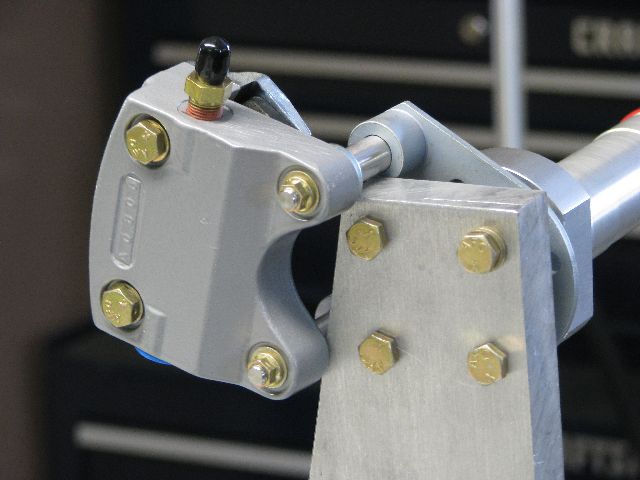 Jan 12, 2010 - Testing brake caliper fit to determine where gear leg must be ground down for allow space for final assembly.
|
 Jan 14, 2010 - Drilled mounting holes for the passenger side wheel hub assembly. Even using the steel drill guide, it
is difficult to drill straight.
|
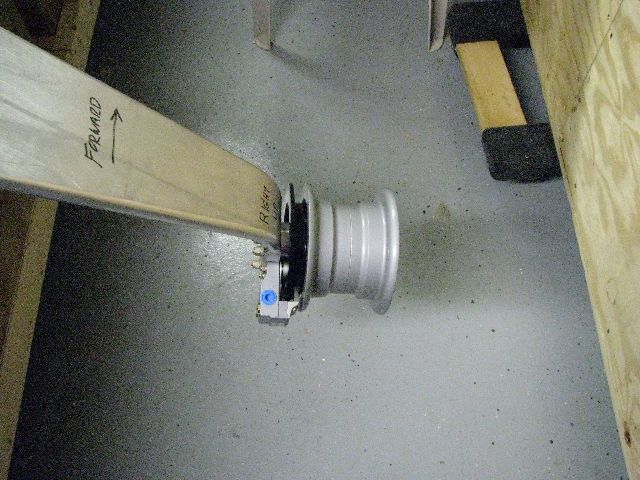
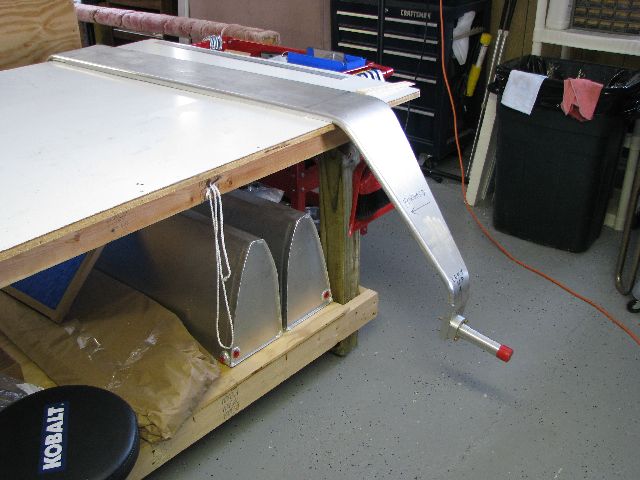 Jan 14, 2010 - Gear leg "right side up". Imagine the fuleage sitting on top of the table, facing to your left.
|
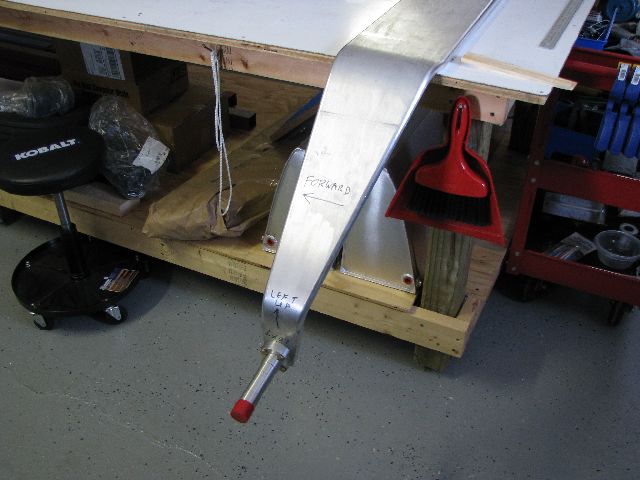 Jan 14, 2010 - Another view, pilot side.
|
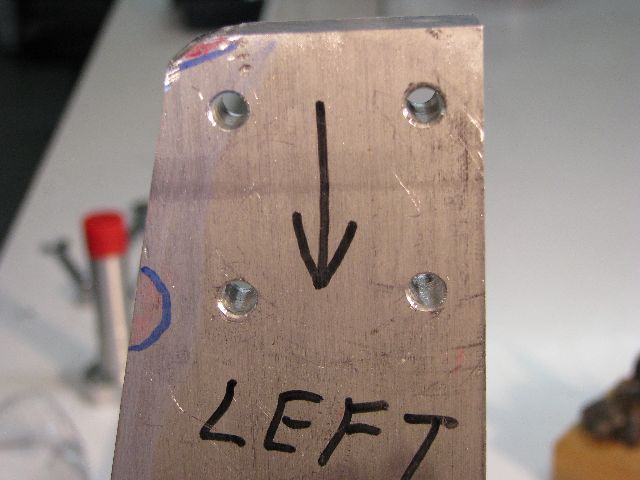 Jan 17, 2010 - Left gear leg marked where grinding is required to provide clearance for brake assembly alignment pins.
|
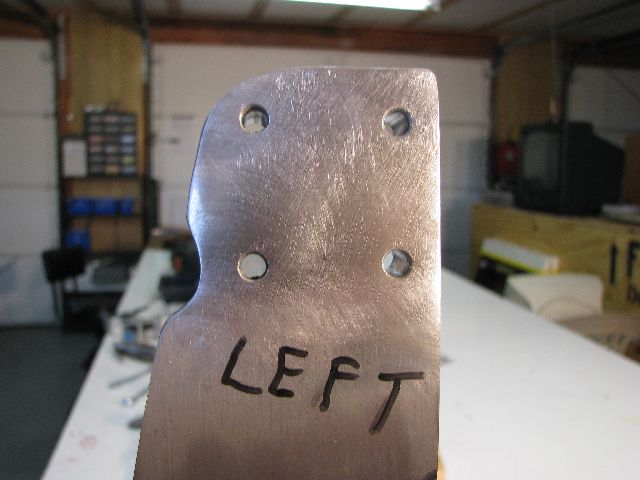 Jan 17, 2010 - Grinding complete. Ready for test fitting.
|
 Jan 17, 2010 - Wheel hub spindle, brake mounting plate, and brake pad assembly.
|
 Jan 17, 2010 - Rear (inside) view of brake pad showing why grinding of leg was necessary.
|
 Jan 17, 2010 - Brake assembly and wheel temporarily installed for fit.
|
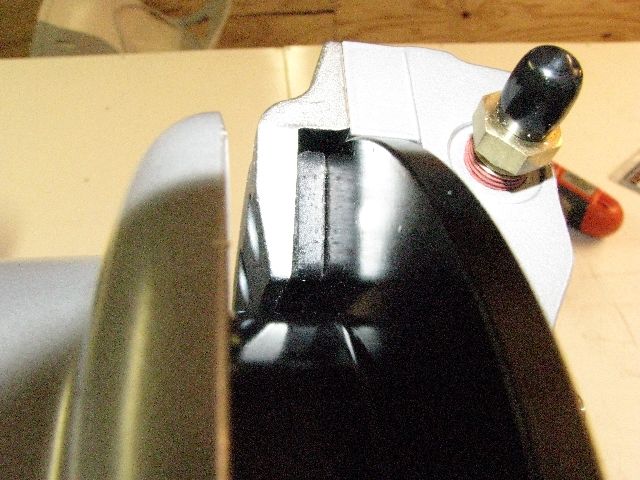 Jan 17, 2010 - View of outside (wheel side) of brake pad against brake rotor disk. Tire goes on wheel on the left
of pic.
|
 Jan 18, 2010 - Installed brake assembly and wheel on right side of main gear. |
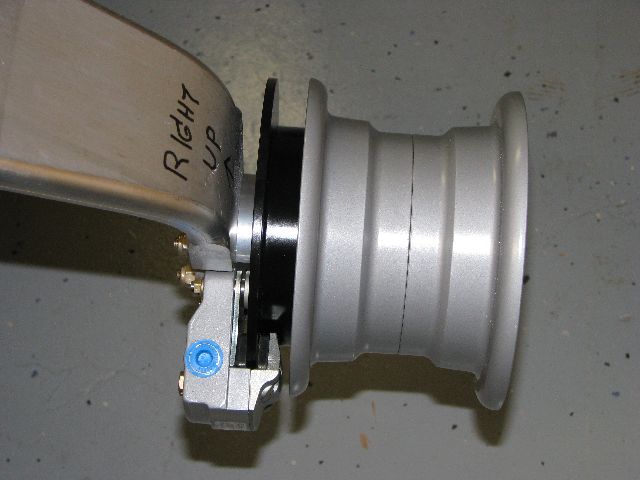 Jan 18, 2010 - Installed brake assembly and wheel on right side of main gear. |
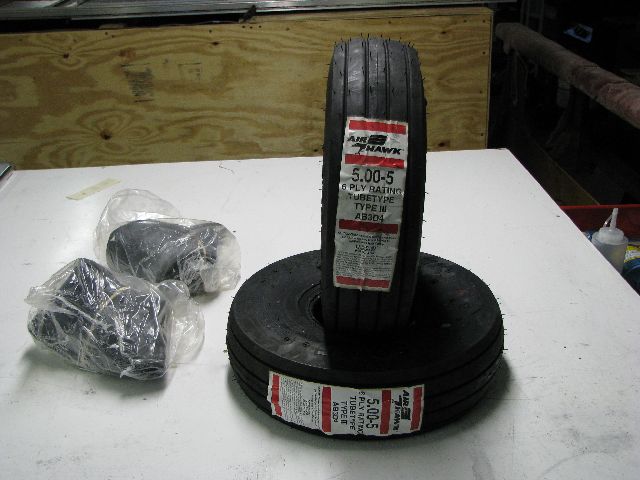 Jan 18, 2010 - Next task is to install the tires. |
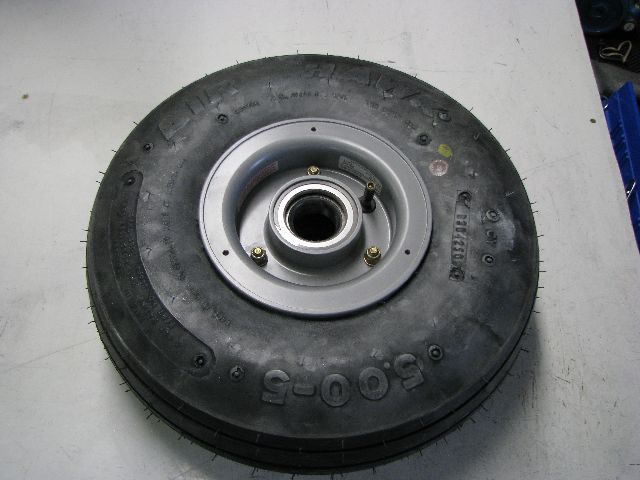
 Jan 19, 2010 - Tire, inner tube and wheel (with brake rotor) ready to install. |
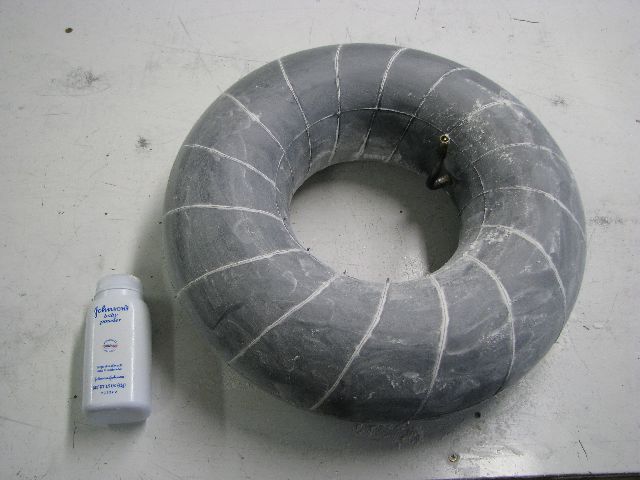 Jan 19, 2010 - Inflate tube and check for leaks. Cover tube with talc to make "slick" for easier insertion into tire. |
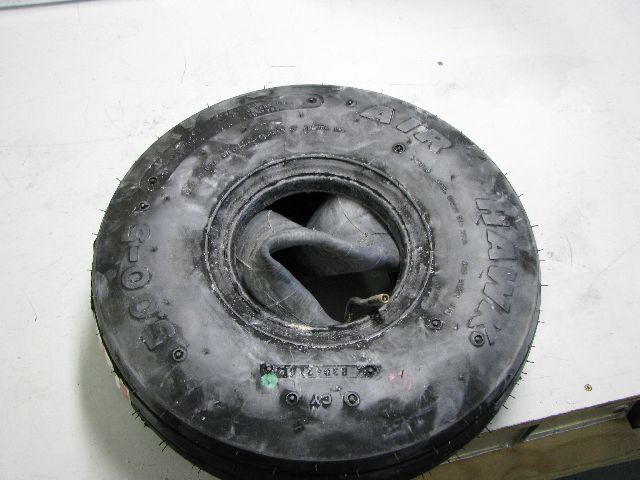 Jan 19, 2010 - Deflate tube and stuff inside tire. Once inserted, partially inflate tube and bounce tire a few times to seat the tube evenly. |
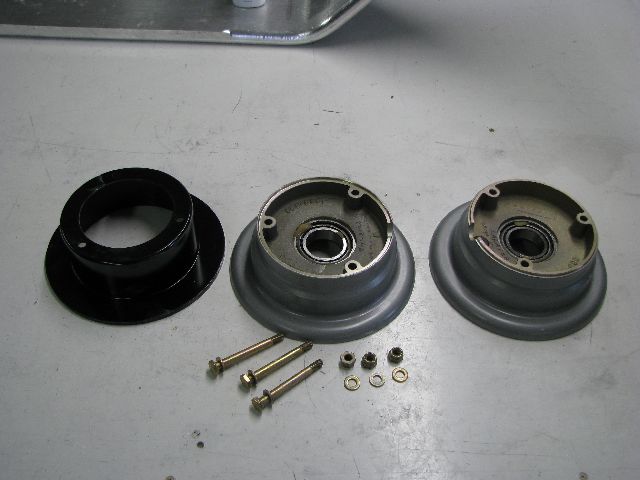 Jan 19, 2010 - The main gear wheels and brake rotor disassembled. Each half will be inserted into one side of tire,
and pressed together.
|
 Jan 19, 2010 - The two halves of wheel aligned and bolted back together. Takes a little work to align, compress
tire, insert bolts, and secure nuts.
|
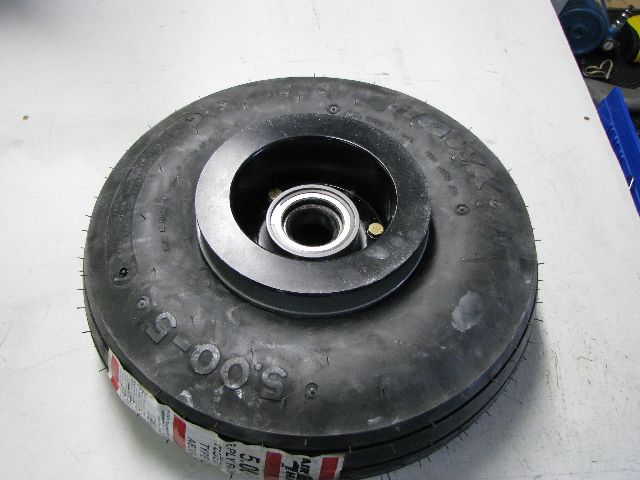
 Jan 19, 2010 - The outside half of wheel with valve for inner tube. |
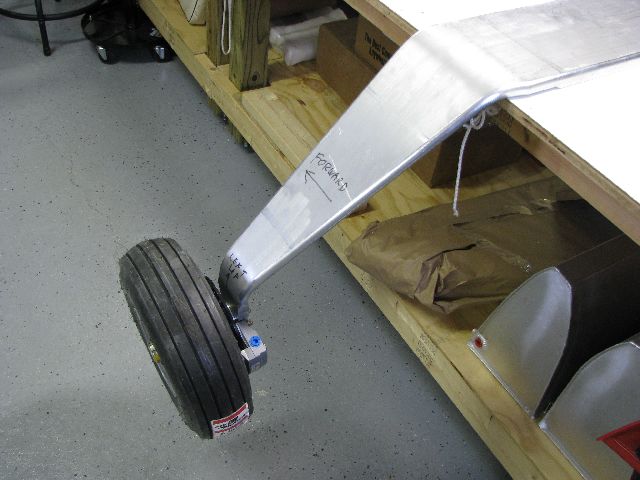 Jan 19, 2010 - Ta Da !!! Wheels, tires and brakes installed. If I just had an airplane to sit on top of this
…
|
|
Enter supporting content here |