|
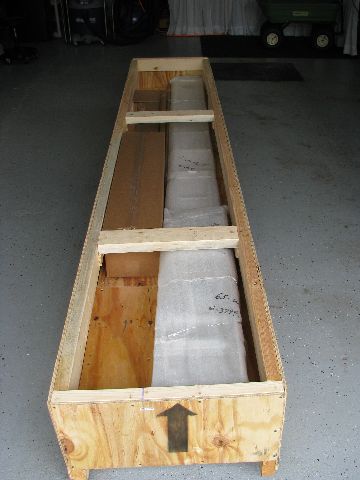 Jun 8, 2010 - Construction activities have been limited for several months waiting for the wing and center section upgrade modifications. The shipping crate containing NEW main spars and center section arrived today - 10-1/2 feet long, 217 lbs. Spars wrapped in white foam, Box at left contains parts required for the full upgrade. |
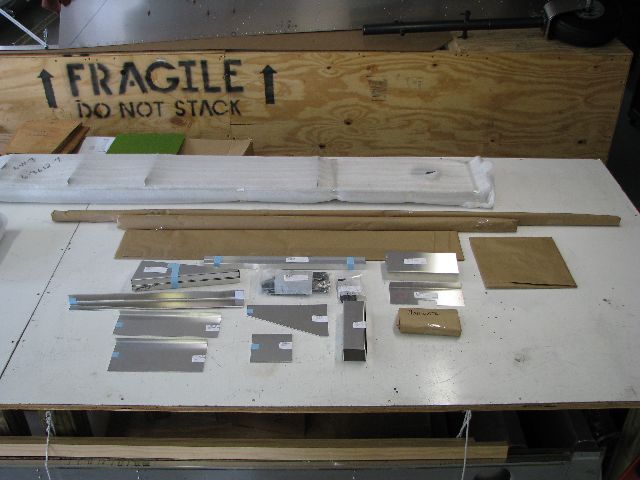 Jun 8, 2010 - Upgrade parts laid out and inventoried. |
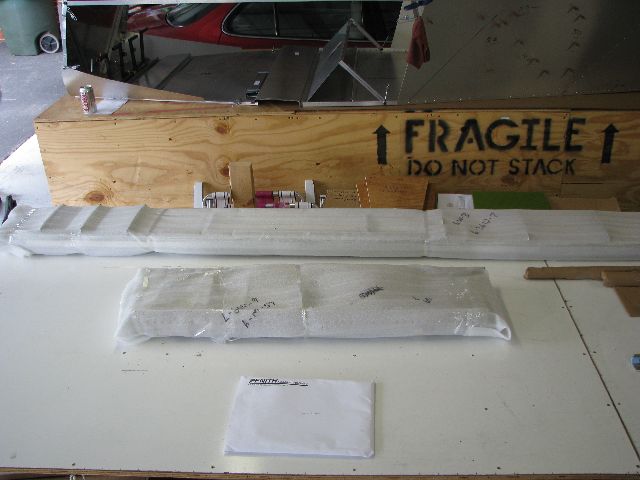 Jun 8, 2010 - Long main wing spars and the shorter center section. |
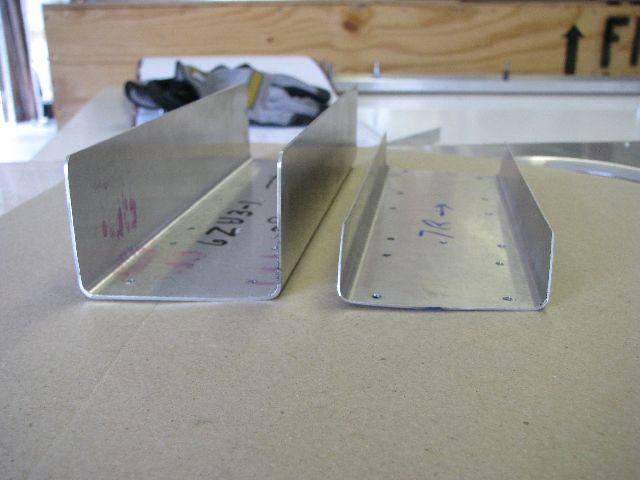
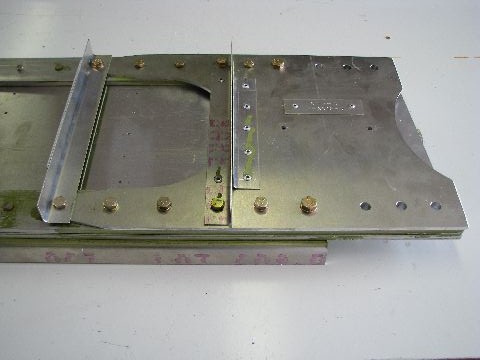 Jun 12, 2010 - Root section of main wing spars with new additional 0.125" thick reinforcing plate. Also, shown are two of the new stronger upright angles. |
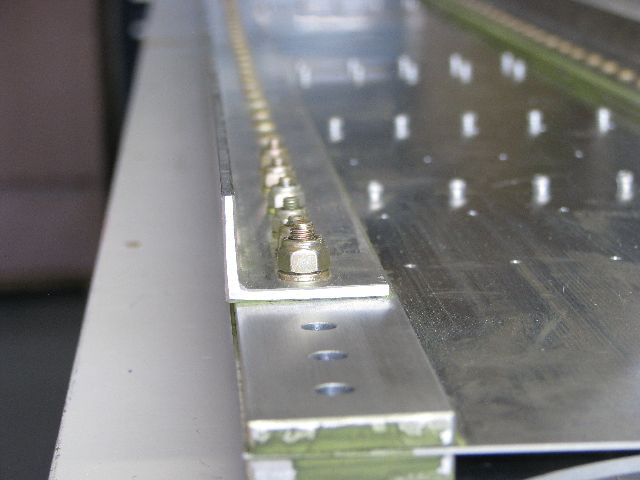 Jun 12, 2010 - This shows the new stronger top spar cap. |
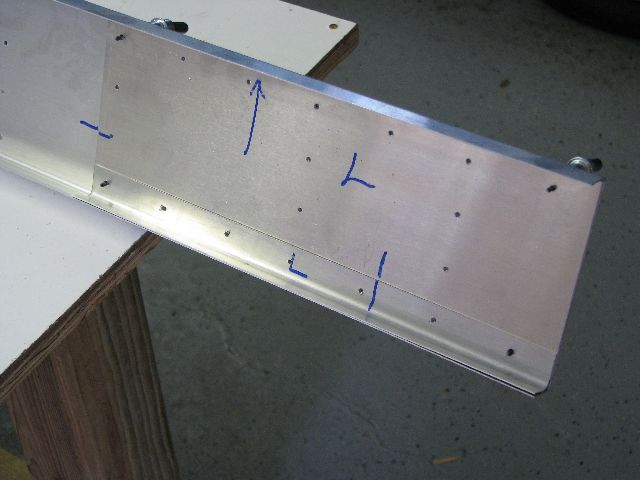 Jun 13, 2010 - This is the original rear spar root section, with doubler plate and short piece of angle at bottom. |
 Jun 13, 2010 - The short piece of angle is removed, and additional doubler is added and a full length angle strip is added to the top. |
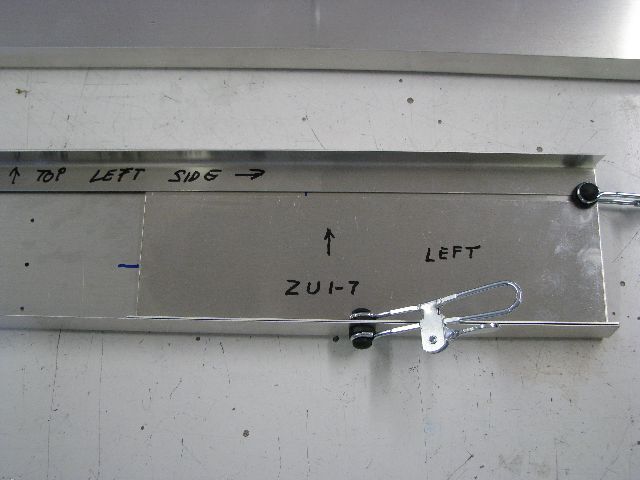
 Jun 13, 2010 - Reinforcement plate added to strenghten area around aileron control rod hole. Original hole was 1-1/2". I reduced new hole to 1-3/8". |
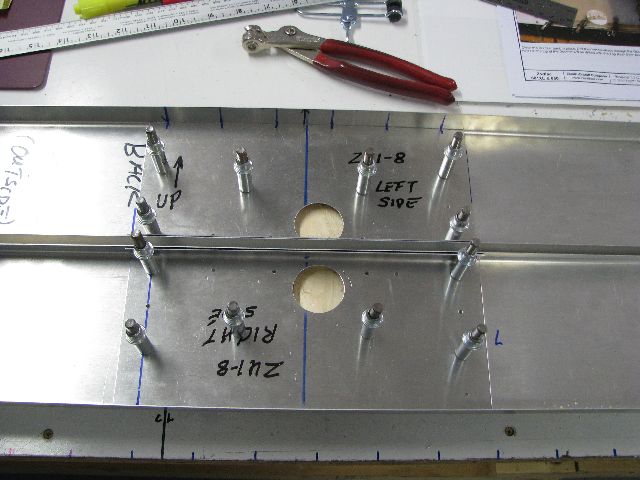 Jun 13, 2010 - Reinforcing plates on both rear spars. |
 Jun 16, 2010 - New bellcrank support bracket is on left, old braket on the right. New bracket is larger and .040 material in lieu of original .025 material. |
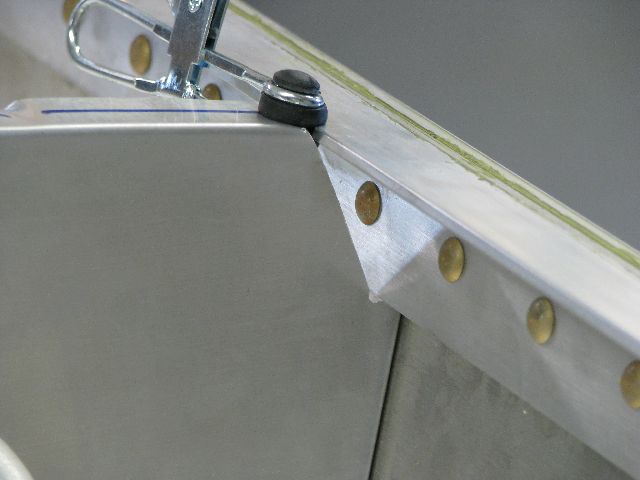 Jun 16, 2010 - Necessary to trim top of rear ribs to provide clearance for heavier main spar cap extrusion. Trimmed rib clamped in place to new top cap extrusion. |
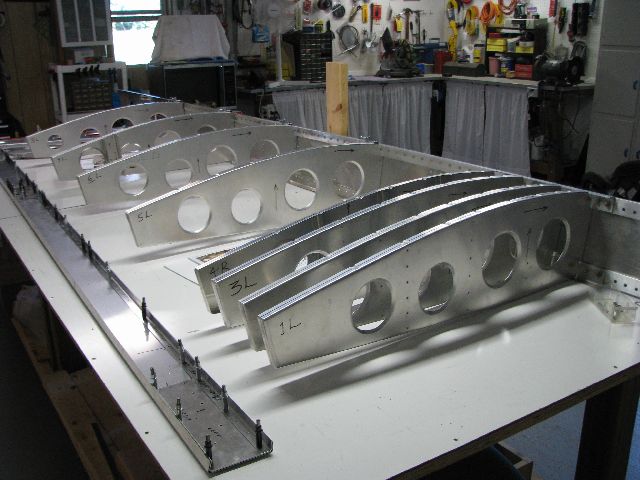 Jun 16, 2010 - All rear ribs clamped up to main spar prior to drilling. |
 Jun 16, 2010 - Wing tip added to outboard end of main spar. |
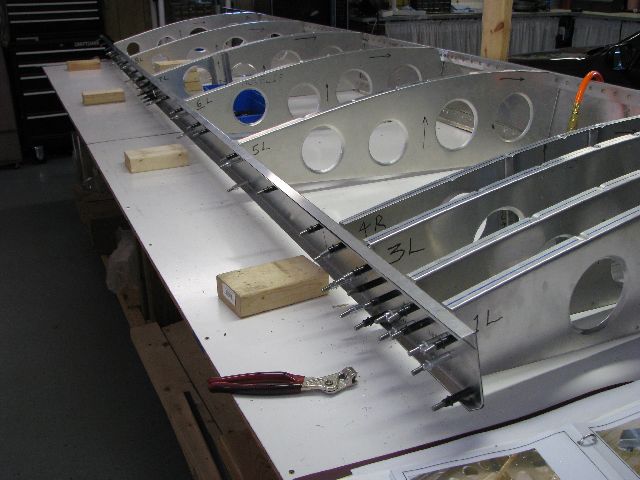 Jun 17, 2010 - Drilled rear ribs onto main and rear spars. |
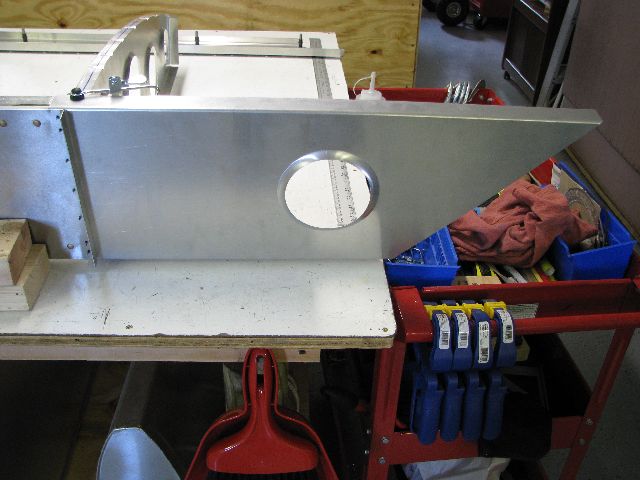
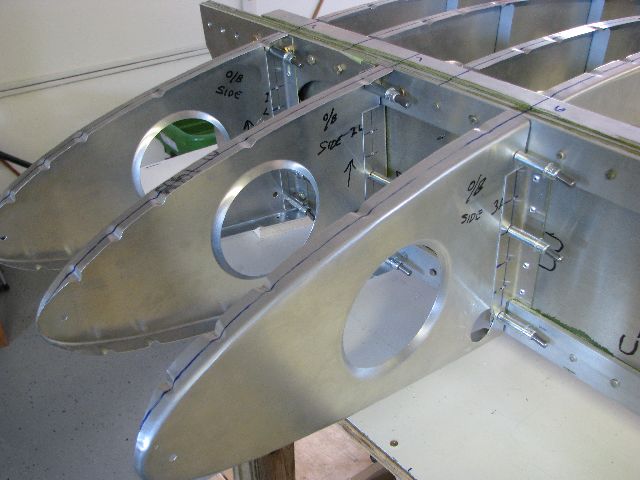
 Jun 17, 2010 - Trimming and fitting nose ribs 1, 2 & 3. These ribs had to be trimmed back to allow for added thickness of new spar reinforcing plates. |
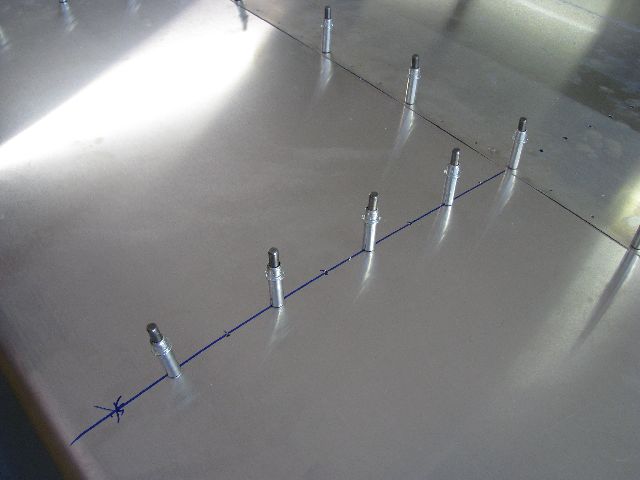
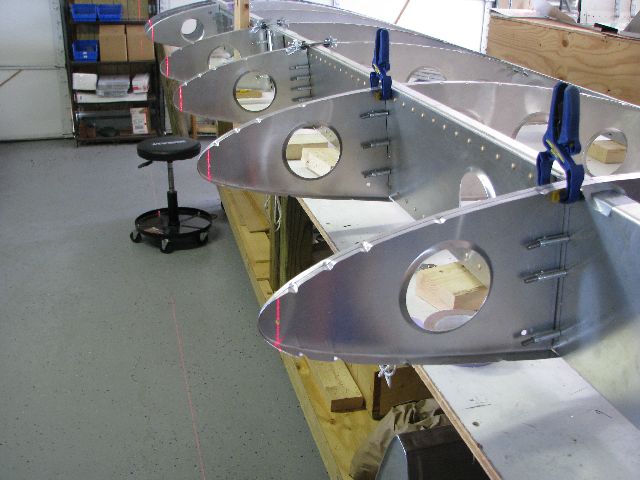 Jun 17, 2010 - Used laser to make sure all ribs were aligned, and that nose ribs 1, 2, & 3 matched. |
 Jun 18, 2010 - Drilled nose ribs 1, 2, & 3 to main spar. |
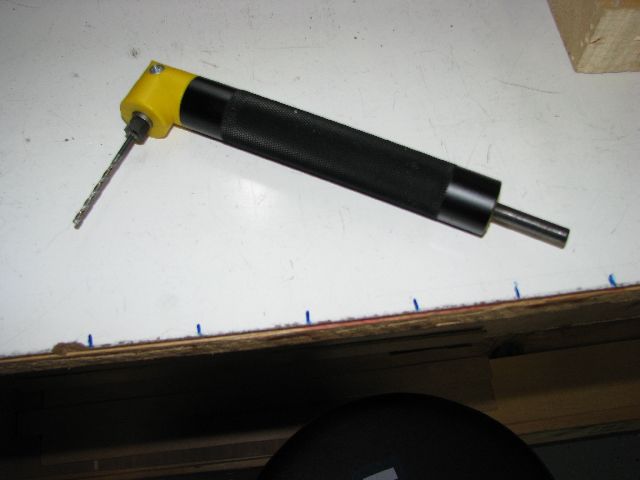 Jun 18, 2010 - Drilling of all nose ribs required use of Tight-Fit right angle drill due to limited room to drill through side of ribs next to spar. |
 Jun 18, 2010 - This shows why right angle drill was required. The hole at the bottom right is for the fuel tank connection. |
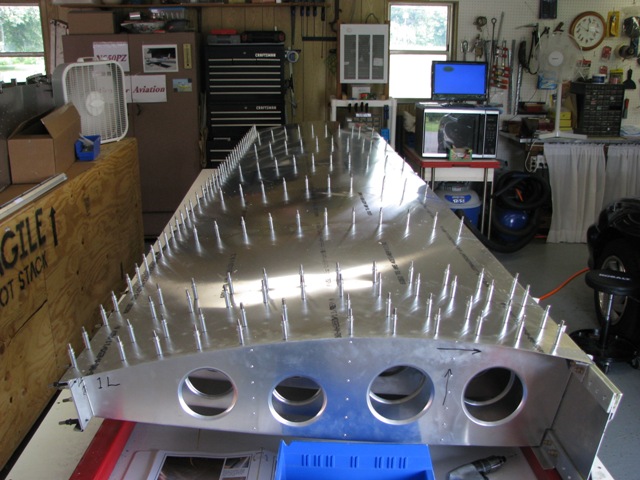 Jun 23, 2010 - Top skin pilot drilled and clecoed. |
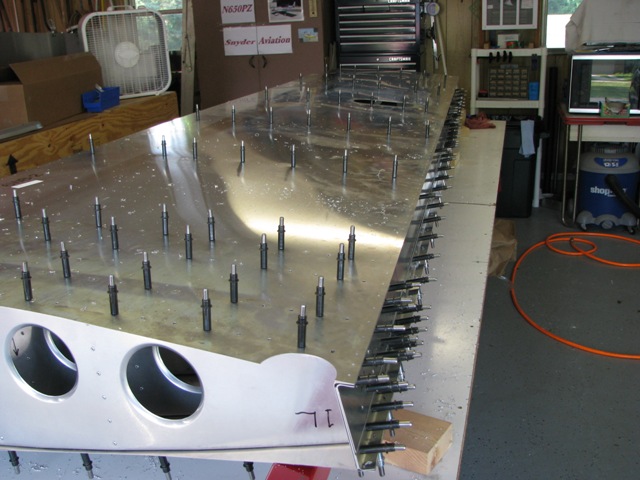
 Jun 23, 2010 - Clay Heathco helping swap out silver clecos for black ones as I re-drill to A5 size. |
 Jun 29, 2010 - Wing flipped over, and bottom skin added. |
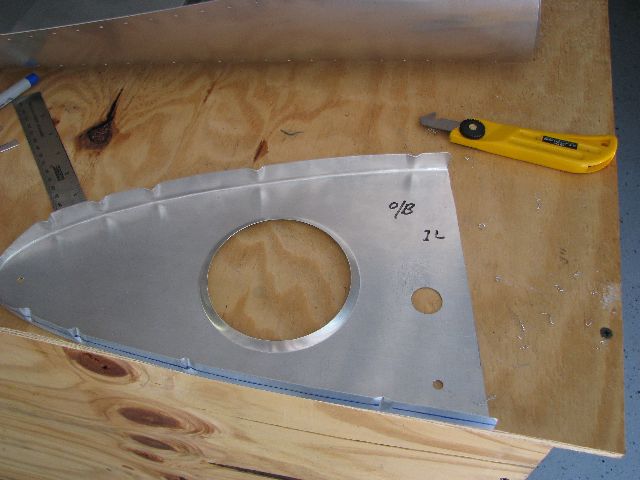
 Jun 25, 2010 - Nose skin drilled and clecoed to bottom of left wing. |
 Jun 25, 2010 - Required to add rib rivet line for nose rib #4, Factory leaves this open since this is omitted if long range fuel tanks are used. |
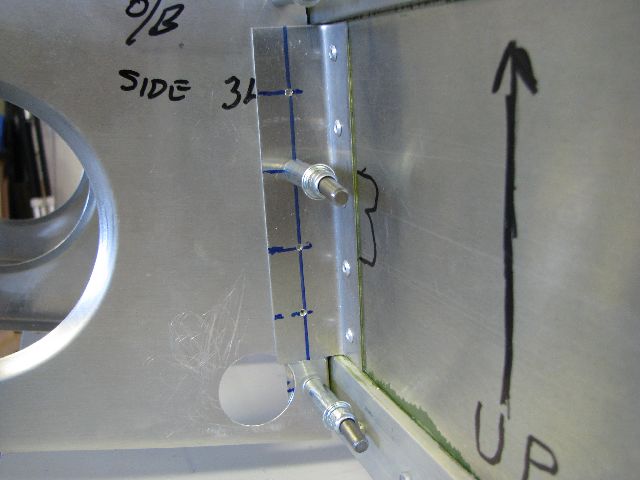
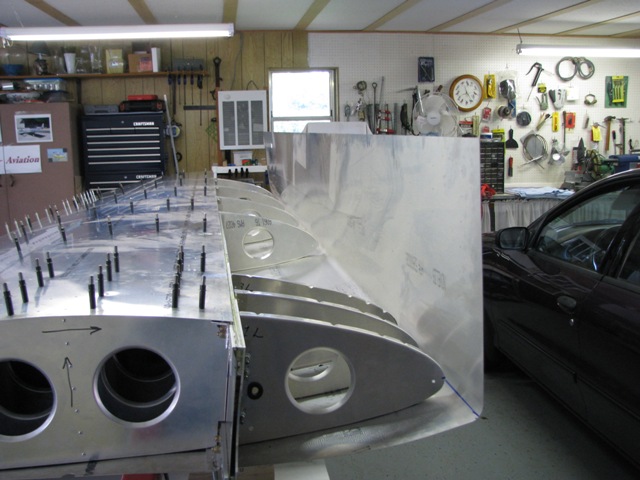
 Jun 25, 2010 - Notice arrow pointing to "top". Next step is to flip wing over in order to wrap nose skin over front. |
 Jun 29, 2010 - Left wing filpped back over, with top side up. Nose skin clecoed to bottom from previous operation. |
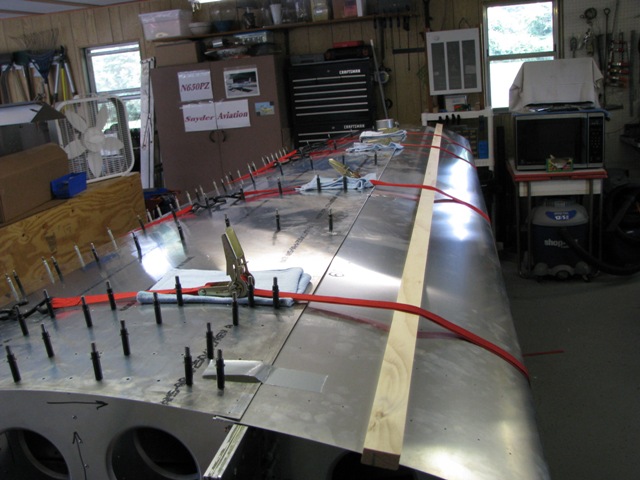 Jun 29, 2010 - nose skin rolled over and tucked under top skin. Used 12' 1"x2" board and four ratchet straps to snug up nose skin. |
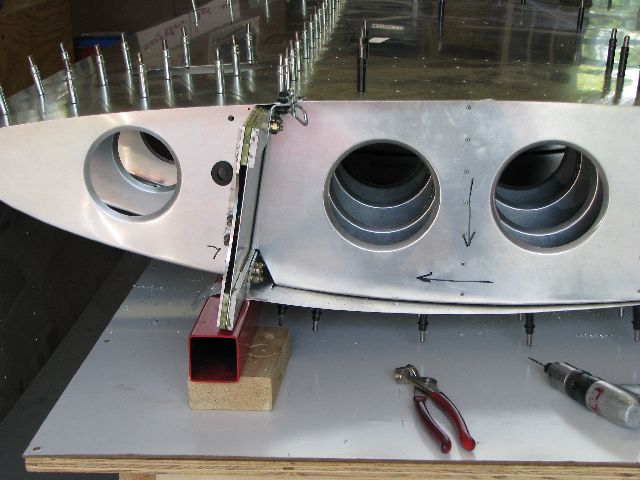
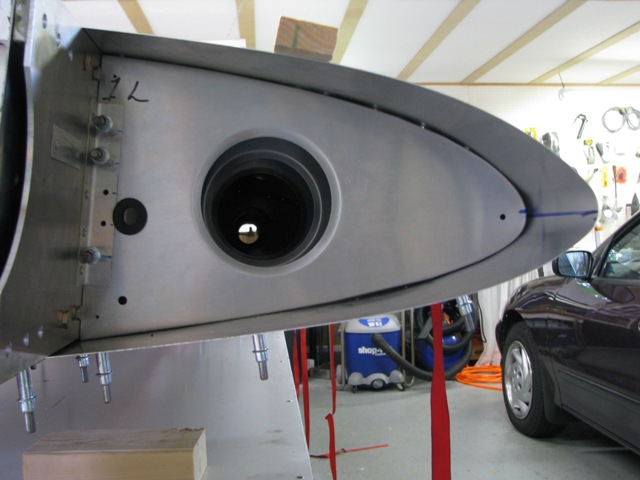 Jun 29, 2010 - View of #1 nose rib (root). |
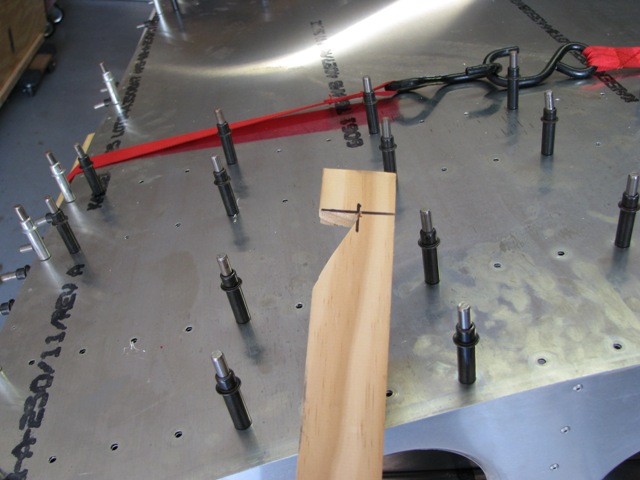 Jun 29, 2010 - Cut a notch in an 8 foot 1x2 to make a push/pull stick to adjust inner ribs for drilling. |
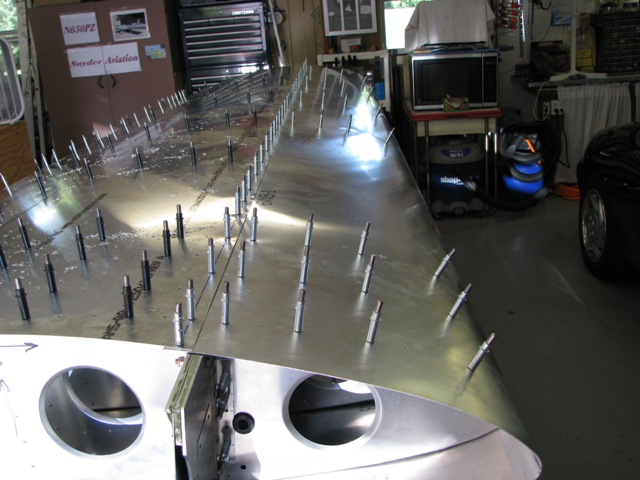 Jun 29, 2010 - Nose skin drilled and clecoed. Left wing main structure complete. Next add internal reinforcing, aileron mass balance, fuel tank, landing lights, etc. |
|
Enter supporting content here |