|
 May 26, 2011 - After mounting the original front side skins, I did not like the fit or alignment. After contacting
Zenith Aircraft, they sent me new front side skins.
|
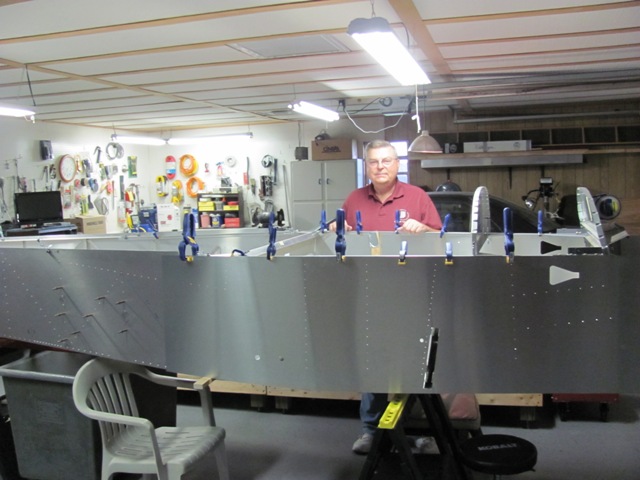
 June 24, 2011 - Been wrestling with getting the side skins to align properly and get pre-drilled holes to line up with
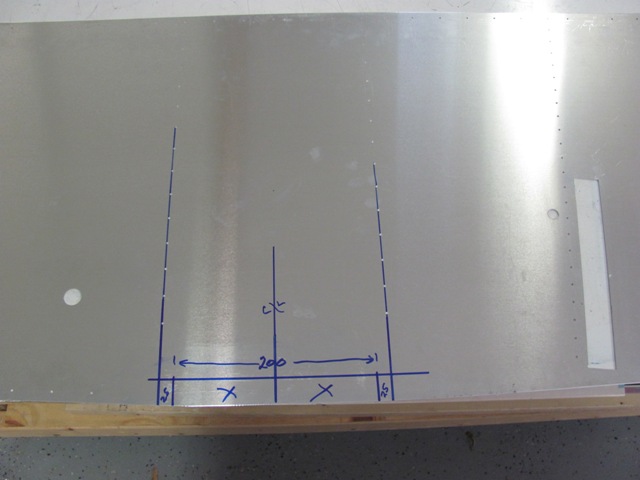
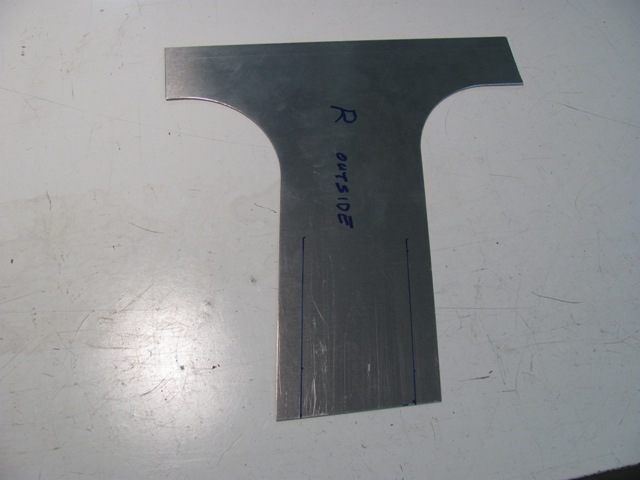
various components. Hopefully, locking in the gear channel area will help. Marking location of cutout in bottom
of side skins for main gear channel.
|
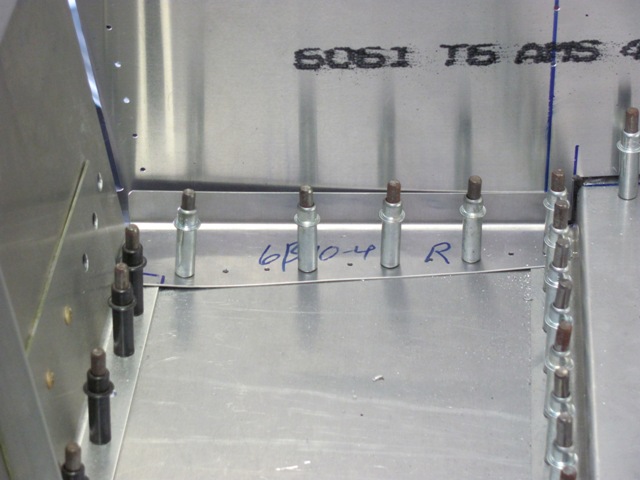
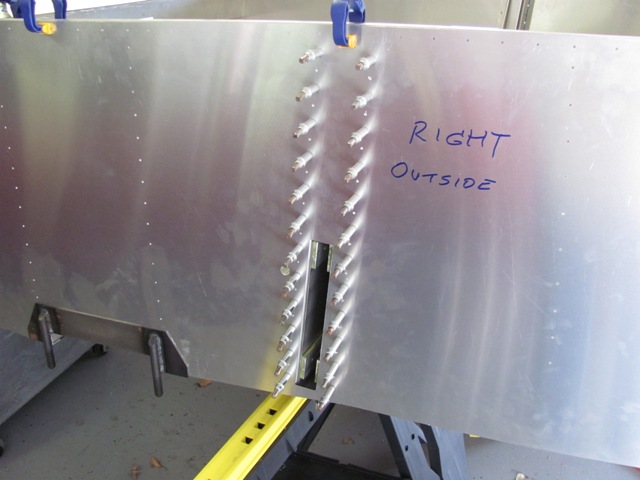
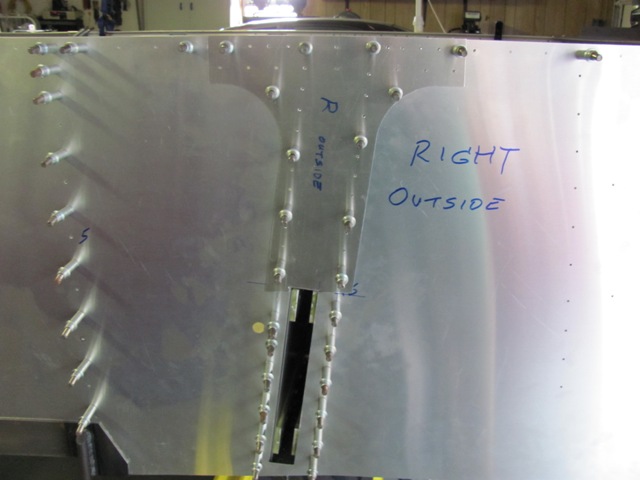
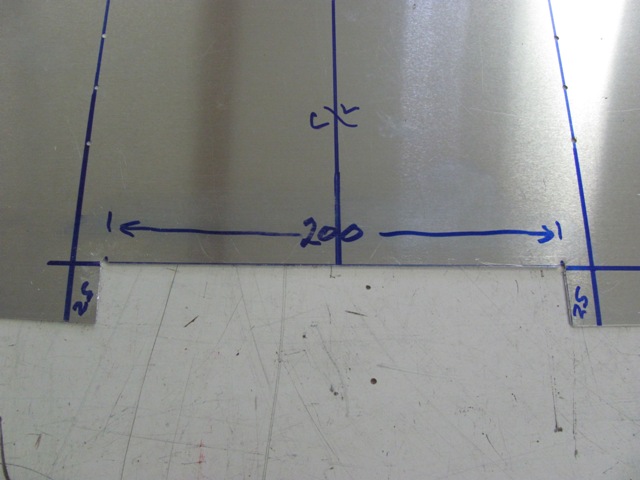 June 24, 2011 - Main gear channel cutout in bottom front of right side skin. |
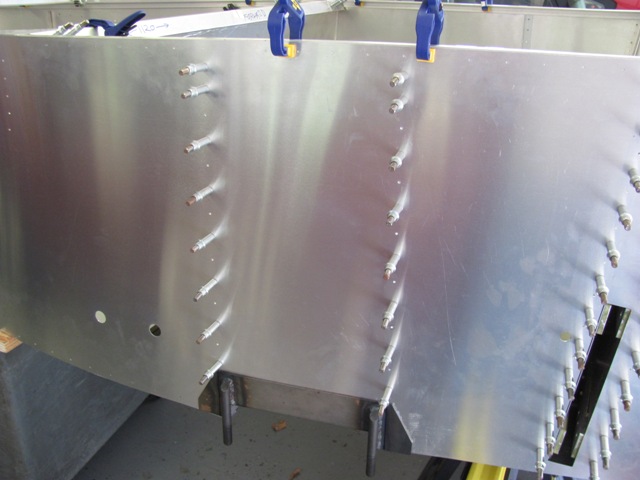
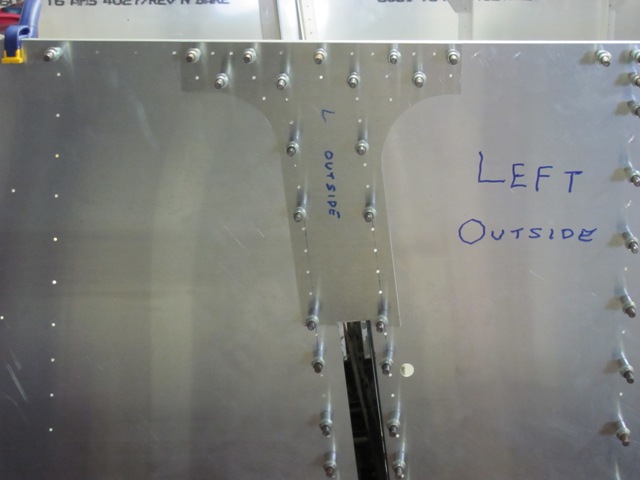
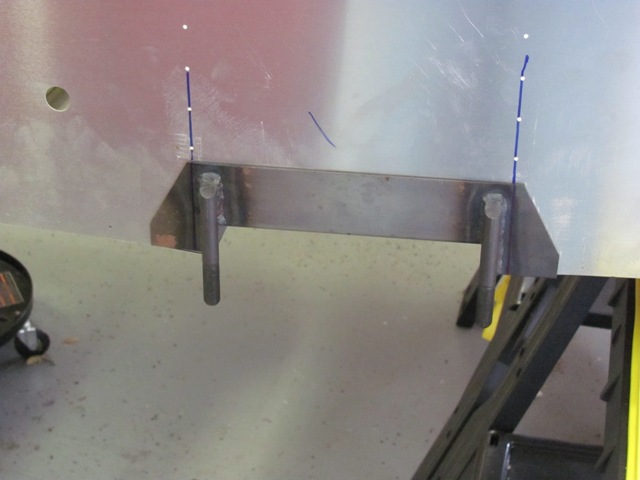 June 24, 2011 - Side skins in place with cutout fitting nicely over main gear support bracket.
|
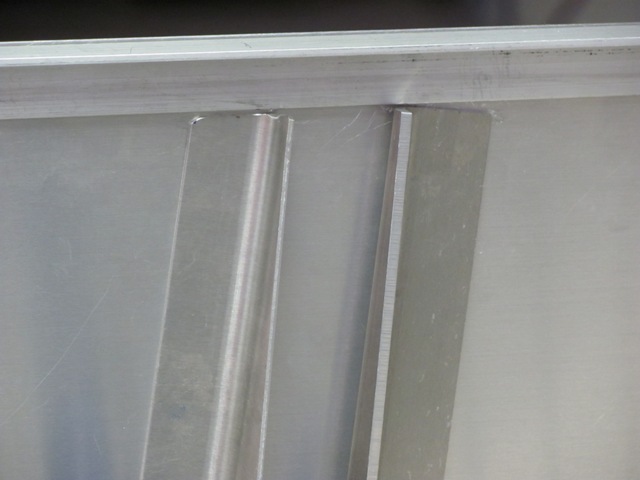
 July 13, 2011 - Pre-installed gusset between floor & side skin. Lies between center spar (left) and main gear channel
(right).
|
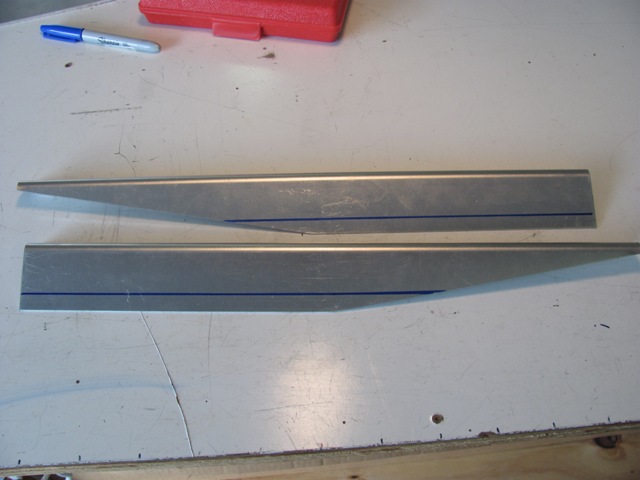 July 13, 2011 - Rear Wing Uprights for center spar support need trimmed to fit.
|
 July 13, 2011 - Rear Wing Upright for right side trimmed. The new Front Wing Uprights supplied with the wing upgrade
kit did not require trimming.
|
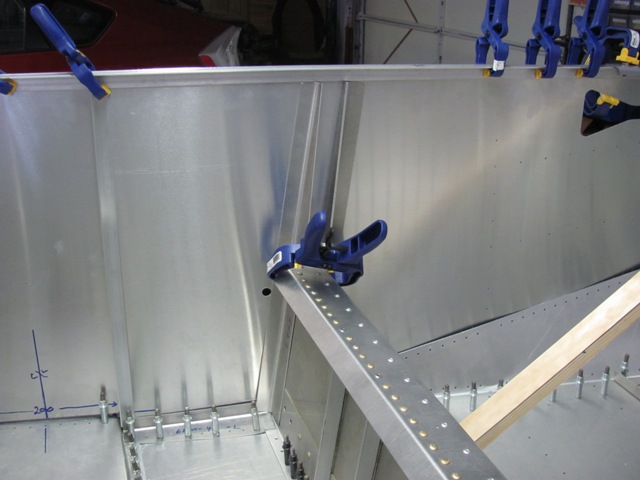 July 13, 2011 - Rear and Front Wing Uprights clamped to center spar (pilot side).
|
 July 13, 2011 - Top of center spar Wing Uprights trimmed to fit under top longeron.
|
 July 13, 2011 - Bottom of Rear Wing Upright against center spar. This is covering a third bolt hole location that will
need to be drilled in upright.
|
 July 14, 2011 - Drilled center spar Wing Uprights to side skins.
|
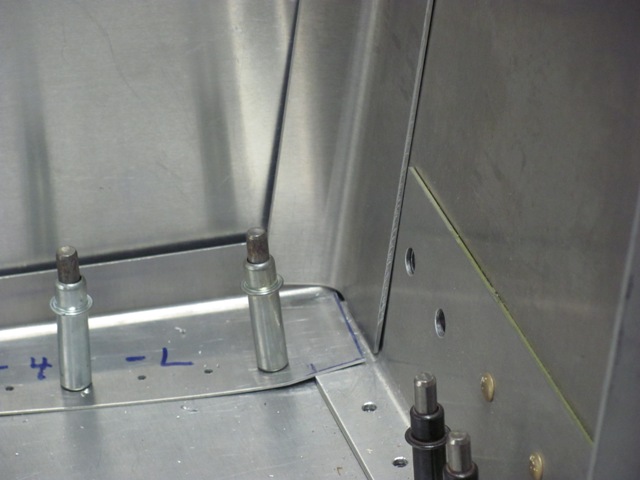
 July 14, 2011 - Installed main gear vertical supports.
|
 July 14, 2011 - Inside view of main gear vertical supports, and gussets tying them to the top longeron.
|
 July 17, 2011 - Part of the wing upgrade package is this doubler plate for the Wing Uprights.
|
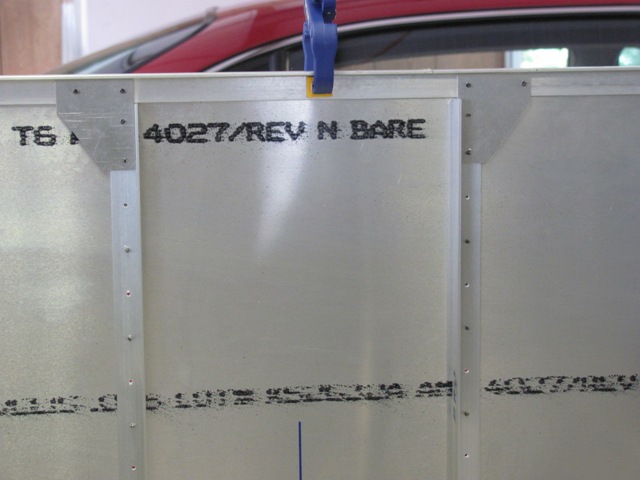
 July 17, 2011 - The doubler is installed on the outside of the fuselage, tying the Wing Uprights to the top longerons, and
strengthening the outer skin.
|
 July 17, 2011 - Wing Upright Doubler installed on right side.
|
|
Enter supporting content here |